Skip to primary navigation
Skip to main content
Skip to primary sidebar
Recipe Index
About
Contact
Privacy Policy
search...
menu icon
subscribe
search icon
search...
Recipe Index
About
Contact
Facebook
Instagram
Pinterest
YouTube
×
Home
Search Results for: bbq
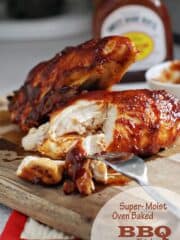
The Best Super Moist Oven Baked BBQ Chicken
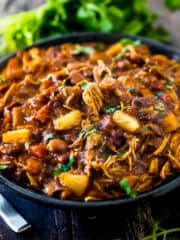
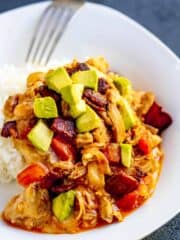
Instant Pot BBQ Chicken Chili with Pineapple
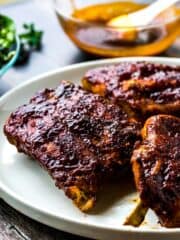
Instant Pot BBQ Ribs
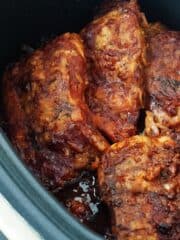
Slow Cooker BBQ Ribs
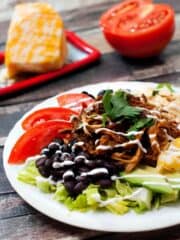
Slow Cooker BBQ Chicken Taco Salad
Slow Cooker Blackberry BBQ Pulled Pork
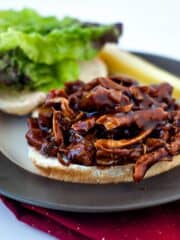
One Pan BBQ Chicken Sandwiches
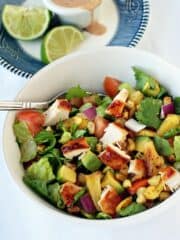
BBQ Chicken Chopped Salad
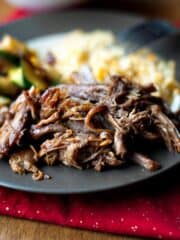
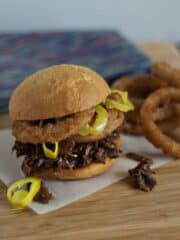
Saucy Slow-Cooker BBQ Beef Sandwiches
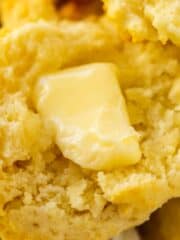
The Easiest Homemade Drop Biscuits
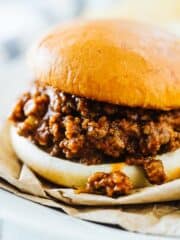
The Best Sloppy Joe Sauce
Easy Tortellini Bacon Carbonara
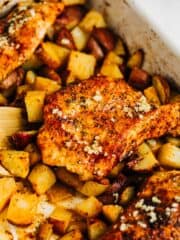
One Pan Lemon Garlic Chicken and Potatoes
Southwest Black Bean Stuffed Sweet Potatoes
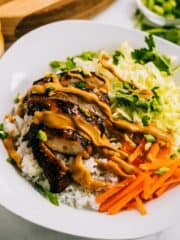
Grilled Thai Chicken Bowls with Peanut Sauce
Salsa Black Bean Chili
Instant Pot Sour Cream Chicken Enchilada Casserole
Instant Pot Mac and Cheese
Slow Cooker Monterey Chicken
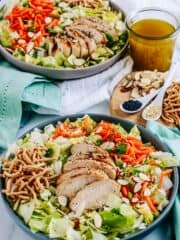
Grilled Asian Chicken Salad
Southwestern Potato Corn Chowder
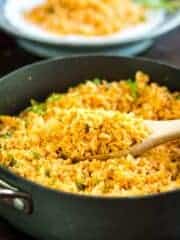
Easy Mexican Rice Recipe
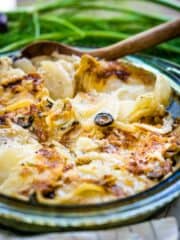
Easy Au Gratin Potatoes with Fennel and California Ripe Olives
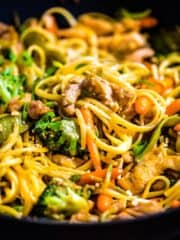
Sweet Chicken Lo Mein Recipe
Go to page
1
Go to page
2
Go to page
3
Go to page
4
Go to
Next Page »
Dinner Recipes
Breads
Side Dishes
Breakfast Recipes
Appetizer Recipes