Skip to primary navigation
Skip to main content
Skip to primary sidebar
Recipe Index
About
Contact
Privacy Policy
search...
menu icon
subscribe
search icon
search...
Recipe Index
About
Contact
Facebook
Instagram
Pinterest
YouTube
×
Home
Search Results for: burger
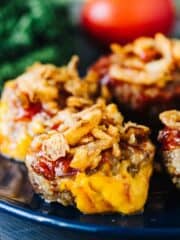
Bacon Cheeseburger Meatloaf Muffins
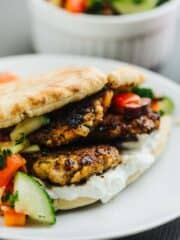
Greek Style Turkey Burgers
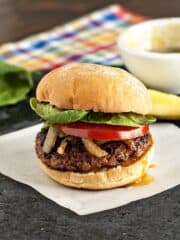
7 Totally Do-able Cooking Tips for Incredible Burgers
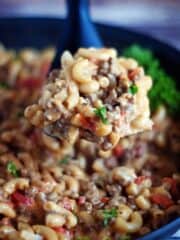
One Pan Cheeseburger Macaroni
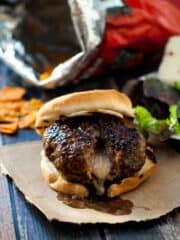
Pepper Jack Stuffed Doritos Burgers
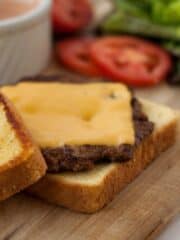
Texas Toast Griddle Burgers
Spiced Apple Pork Burgers & Strawberry Banana Smoothie Pops
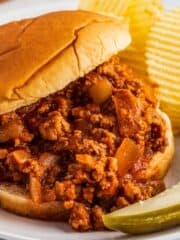
Instant Pot Sloppy Joes
Mexican Style Ground Beef Taco Meat
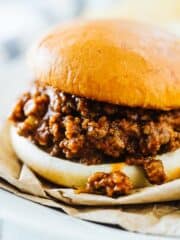
The Best Sloppy Joe Sauce
Instant Pot Pasta Al Forno
Instant Pot Mac and Cheese
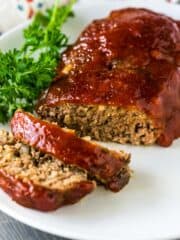
Mom's Classic Meatloaf Recipe
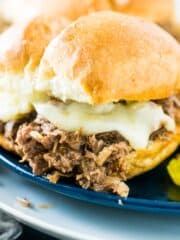
Slow Cooker Italian Beef Sandwiches
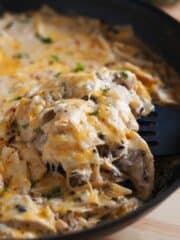
One Pan Sour Cream Chicken Enchilada Skillet
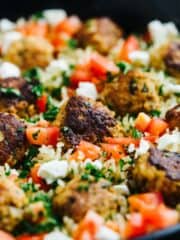
Baked Greek Turkey Meatballs + Lemon Rice Skillet
Copycat Wingers Sticky Fingers Recipe
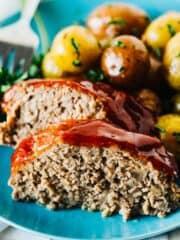
Slow Cooker Meatloaf and Potatoes with Garlic Butter
Garlic Parmesan Grilled Cheese Sandwiches
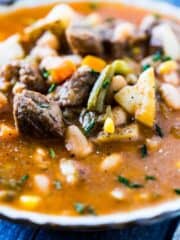
Zesty Instant Pot Homemade Vegetable Beef Soup
Better Than Costco Mac and Cheese
Cheesy Broccoli Pasta with Barber Foods Crispy Stuffed Chicken Breasts
The Best 11 Things I Ate On My Carnival Cruise
Roasted Broccoli of Insanity
Go to page
1
Go to page
2
Go to
Next Page »
Dinner Recipes
Breads
Side Dishes
Breakfast Recipes
Appetizer Recipes