Skip to primary navigation
Skip to main content
Skip to primary sidebar
Recipe Index
About
Contact
Privacy Policy
search...
menu icon
subscribe
search icon
search...
Recipe Index
About
Contact
Facebook
Instagram
Pinterest
YouTube
×
Home
Search Results for: cookies
Peppermint Patty Stuffed Chocolate Cookies
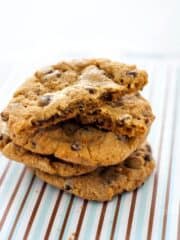
Big Chewy Chocolate Chip Cookies
Ranger Cookies
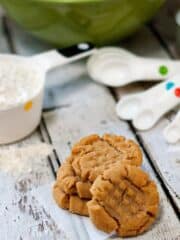
The BEST Peanut Butter Cookies
Super Soft Sour Cream Sugar Cookies
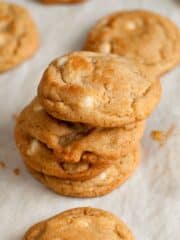
White Chocolate Macadamia Nut Cookies
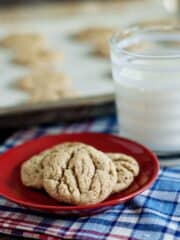
Soft and Chewy Almond Butter Cookies
Snickerdoodle Peach Cobbler
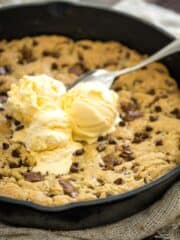
Chocolate Chunk Pizookie (Skillet Cookie or Pizza Cookie!)
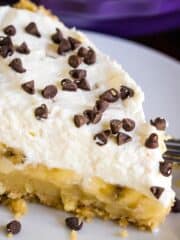
Banoffee Pie
Pineapple Coconut Macaroon Cookie Bars
Bacon Cheeseburger Meatloaf Muffins
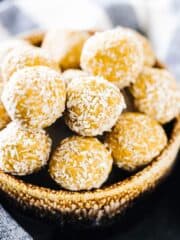
Peanut Butter Protein Balls
Microwave Chocolate Chip Pizookie Recipe
Privacy Policy and Copyright
One Pan Smothered Chicken Skillet
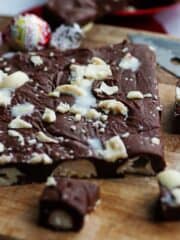
Chocolate Covered Strawberry Candy Bars
4 Ingredient Truffle Fudge
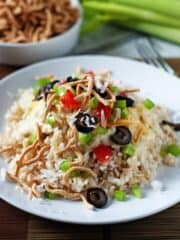
Homemade Hawaiian Haystacks
Super Fluffy Whole Wheat Pancakes
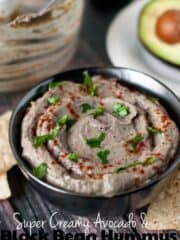
Black Bean Hummus with Avocado
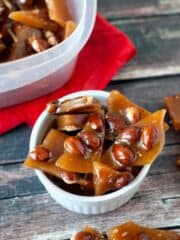
Spicy Honey Almond Brittle
White Hot Chocolate
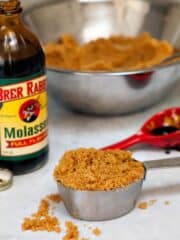
How To Make the Softest, Fluffiest Homemade Brown Sugar
Go to page
1
Go to page
2
Go to
Next Page »
Dinner Recipes
Breads
Side Dishes
Breakfast Recipes
Appetizer Recipes