Skip to primary navigation
Skip to main content
Skip to primary sidebar
Recipe Index
About
Contact
Privacy Policy
search...
menu icon
subscribe
search icon
search...
Recipe Index
About
Contact
Facebook
Instagram
Pinterest
YouTube
×
Home
/
You searched for bbq
Search Results for: bbq
Crispy Beer Battered Fish and Chips
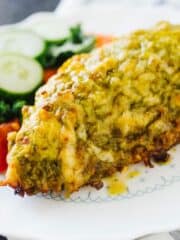
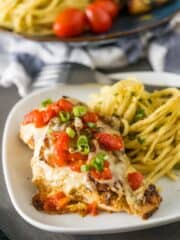
Baked Parmesan Pesto Chicken
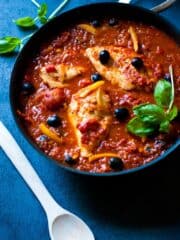
One Pan Easy Chicken Cacciatore
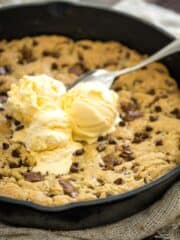
Chocolate Chunk Pizookie (Skillet Cookie or Pizza Cookie!)
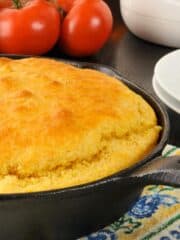
Bisquick Cornbread
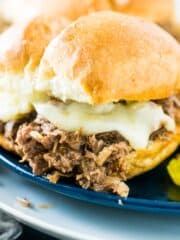
Slow Cooker Italian Beef Sandwiches
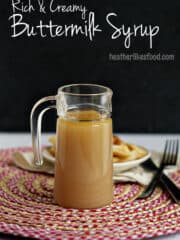
Rich and Creamy Buttermilk Syrup
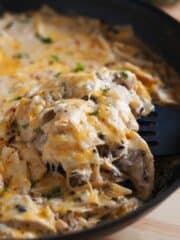
Not Your Mama's Smothered Chicken
One Pan Sour Cream Chicken Enchilada Skillet
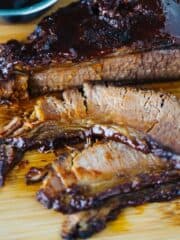
Instant Pot Brisket
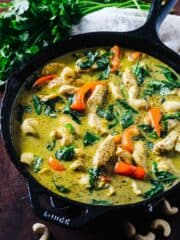
Chicken Curry with Coconut Milk
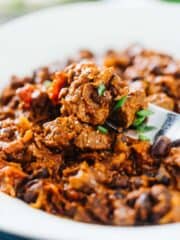
Crockpot Chili-- My Award Winning Chili Recipe!
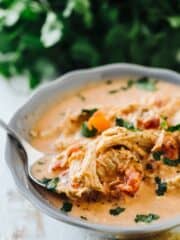
Zesty Queso Keto Chicken Soup
Copycat Wingers Sticky Fingers Recipe
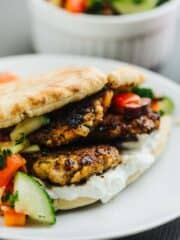
Greek Style Turkey Burgers
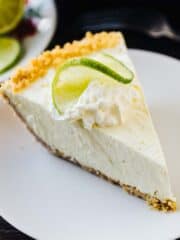
No Bake Key Lime Cheesecake
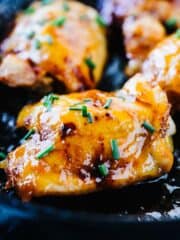
Skillet Honey Dijon Chicken Thighs
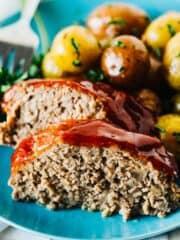
Slow Cooker Meatloaf and Potatoes with Garlic Butter
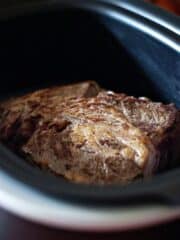
Crock pot Ranchers Roast Beef and Gravy
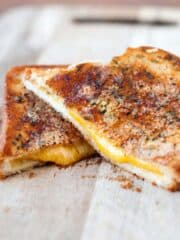
Garlic Parmesan Grilled Cheese Sandwiches
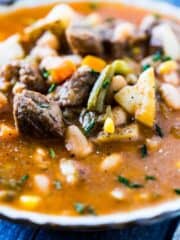
Zesty Instant Pot Homemade Vegetable Beef Soup
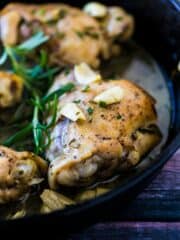
One Pan Garlic Herb Chicken Thighs
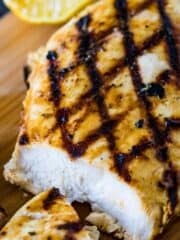
Garlic Ranch Chicken Marinade
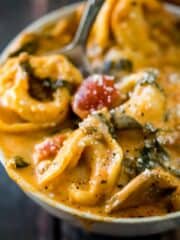
Creamy Slow-Cooker Tortellini Soup
«
Go to
Previous Page
Go to page
1
Go to page
2
Go to page
3
Go to page
4
Go to
Next Page »
Dinner Recipes
Breads
Side Dishes
Breakfast Recipes
Appetizer Recipes