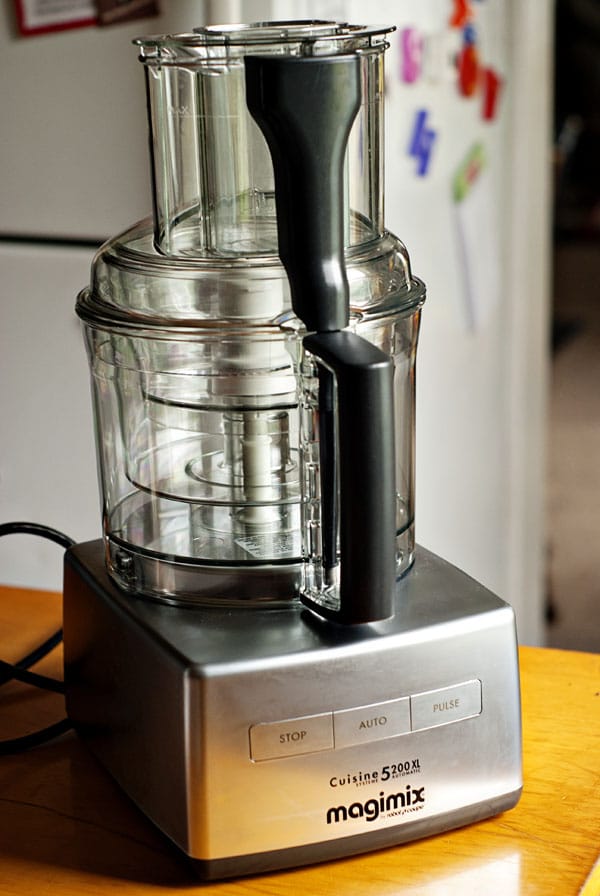
I think I've teased you enough with the Facebook post and tweets in the last few weeks about this giveaway that we're just going to dive right in. Today (well technically in 2 weeks) I get to give one of these shiny beauties to one of you--
A Magimix by Robot-Coupe 16 Cup Food Processor, a $499 value!
It totally feels like Christmas to me right now, I'm so excited!
I've had mine for a little over a month now and I'm absolutely, head-over-heels, in love. The first time I put it to work was to grate 4 lbs of cheese. You know how long it took me? 60 seconds. I'm not even joking. In 60 seconds I had time to cut each 2 lb block of cheese in half, feed half of it through the extra-wide feed tube, dump, and repeat with the rest of the cheese. This baby has tons of power but somehow stays surprisingly quiet. Every time I used my last food processor I was afraid my neighbors were going to send PETA to my house to investigate whether or not I was torturing cats. Not the case with the Magimix; it's quiet, low-pitched and gets the job done without causing your neighbors worry. Score!
I'm going to talk more about it's features as we make today's recipe, homemade chicken nuggets, in an effort to not make this the longest post in the history of Heather Likes Food. My kids love chicken nuggets but I'm not always so keen on buying them pre-made. This isn't to say I don't do it sometimes (okay, am I the only adult that thinks those dinosaur shaped nuggets are delish?), but I like to have other options. These nuggets are fairly simple to throw together and they are great because you can cook and then freeze them to reheat later just like their frozen counter-part.
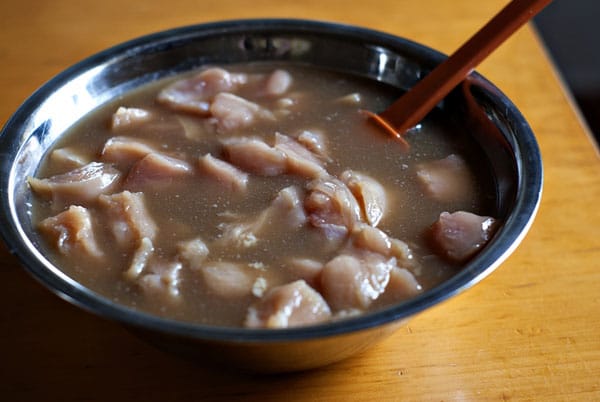
You'll start with about 4 boneless skinless chicken breasts that have been cut into chunks the size of usual chicken nuggets. The trick to really flavorful, juicy chicken pieces is to let them sit in a brine for about half an hour before breading them. The brine is made with salt, water, and a few tablespoons of Worcestershire sauce. The brine will be absorbed by the chicken because it naturally has salt water in it and will make the meat "super loaded" with moisture and flavor.
Make the brine, pour over the chicken pieces, and set aside.
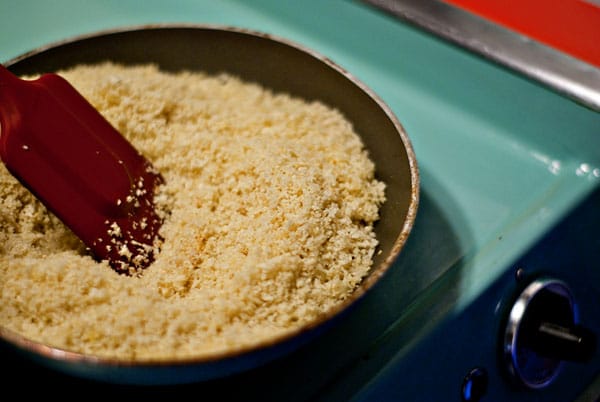
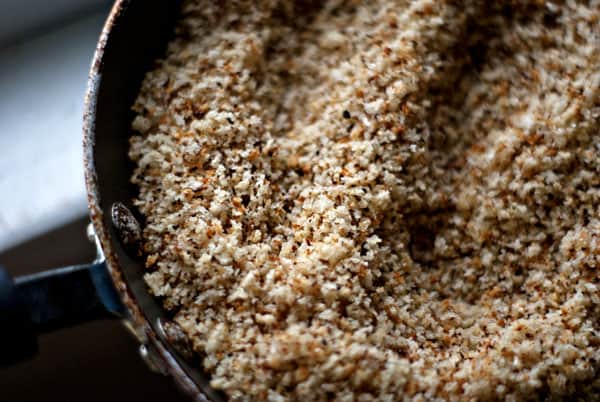
While the chicken is doing it's thing you'll have some time to make the breading. Start by mixing a couple cups of panko (Japanese) breadcrumbs with a tablespoon of olive oil on the stove top. Doing this will give your finished nuggets nice color and added flavor. Stir the breadcrumbs until they start to brown and remove from the stove.
They should look something like this:
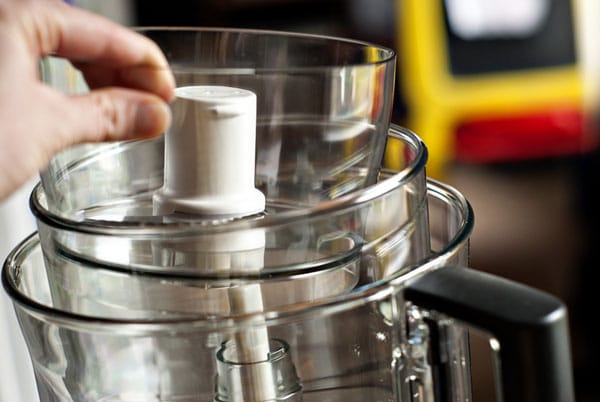
The Magimix Food Processor comes with 3 sizes of nesting bowls. If you want to use the smallest bowl, you don't even have to take the bottom 2 bowls off of the base! They stay stacked as you use it which is a really nice feature. At first I wasn't so sure how I'd like it-- I was afraid that the larger bowls I wasn't using would get dirty too, but so far that hasn't been the case.
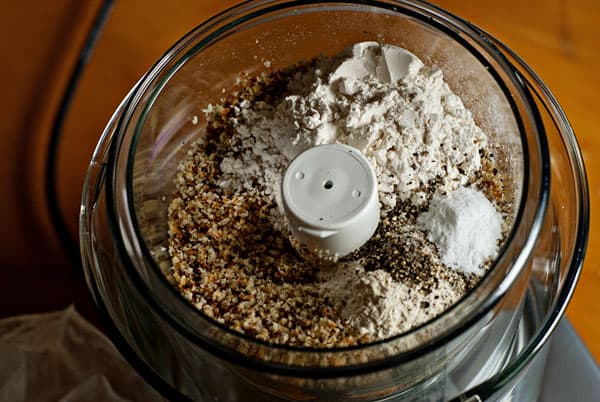
To make the chicken coating, I used the smallest of the 3 bowls. Panko bread crumbs are super crunchy and great for this chicken, but the breadcrumb pieces themselves can be pretty large. I gave them a whirl in the food processor with some flour, onion powder, garlic powder, pepper, salt and baking soda to combine the mixture and crush up some of the larger pieces.
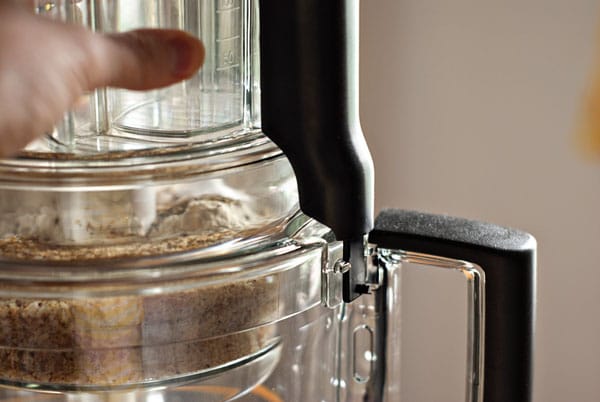
Snap the lid into place (see that super huge feed tube? It's wonderful!)...
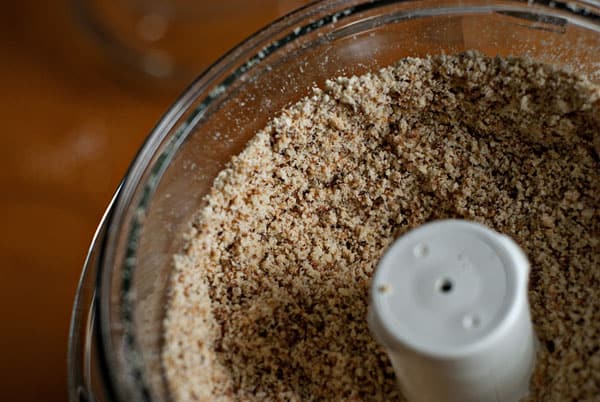
Turn her on for about 30 seconds and you'll end up with a mixture that looks like this:
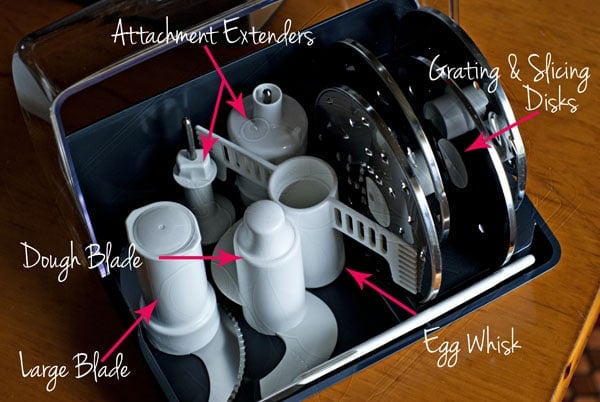
The basic "S" blade typical of food processors isn't the only attachment you'll receive with the Magimix. In fact, I was kind of blown away by how many attachments came with it. The picture below gives you a glimpse at most of the attachments and the handy-dandy flip-top storage case they come in. Not pictured is a citrus press and a blender/puree attachment that makes things super smooth.
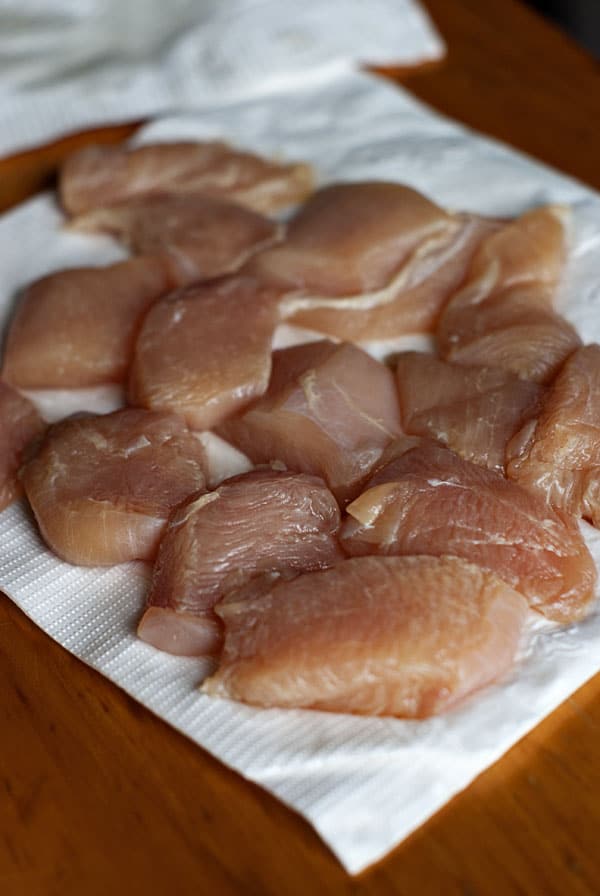
Going back to the chicken, you'll want to drain off the brine and dry each piece really well with paper towels, or in my case, fancy (paper) napkins since I was out.
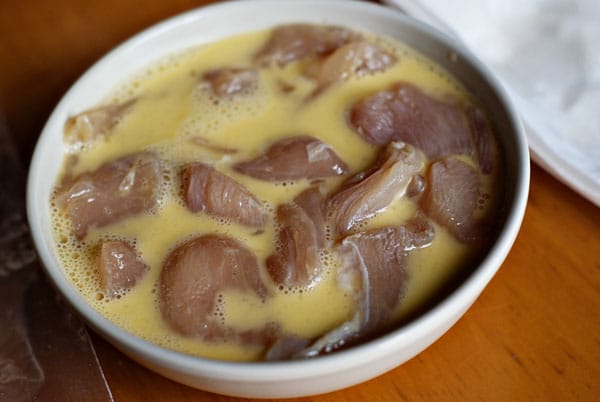
Give the little chickens a nice bath in an egg tub, also known as 1 egg + 2 tablespoon of water.
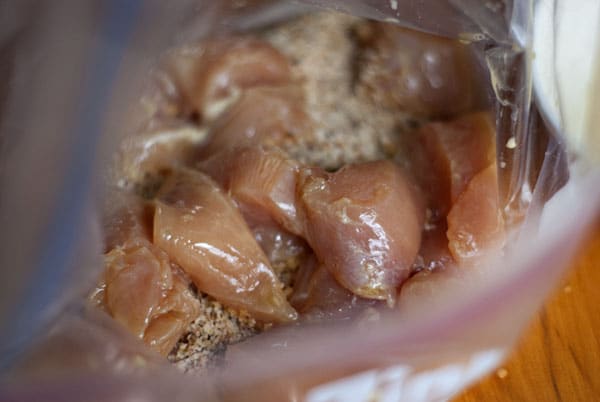
Pour your breading mixture into a zip lock bag and place a few pieces of chicken in there at a time to shake and cover with crumbs.
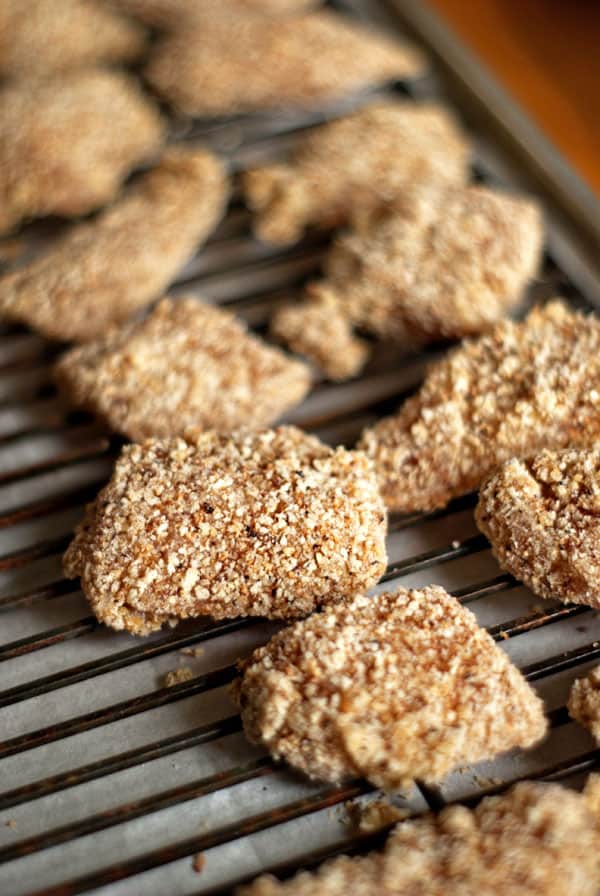
Line a baking sheet with a cookie rack and place the chicken on top of the rack so that they are not touching. You can cook them directly on the sheet but using the rack lets the air circulate around them so they can be crispy on all sides.
Preheat the oven to 400 degrees and bake for about 12 minutes or until the chicken is cooked through.
To freeze them for future reheating, cook, cool, and place them in the freezer in a single layer. Once they are frozen, store in an airtight container for up to a month. Reheat at 425 for about 15 minutes.
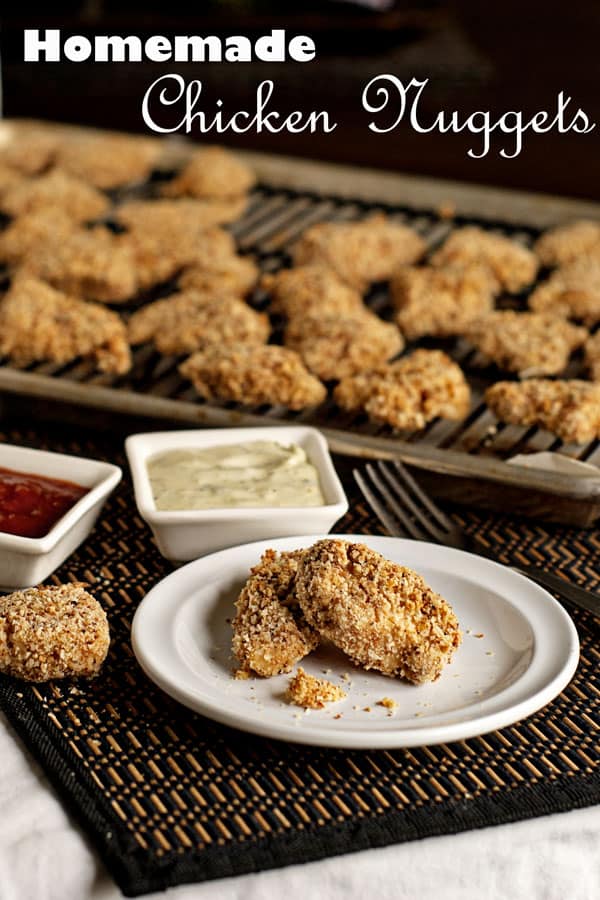
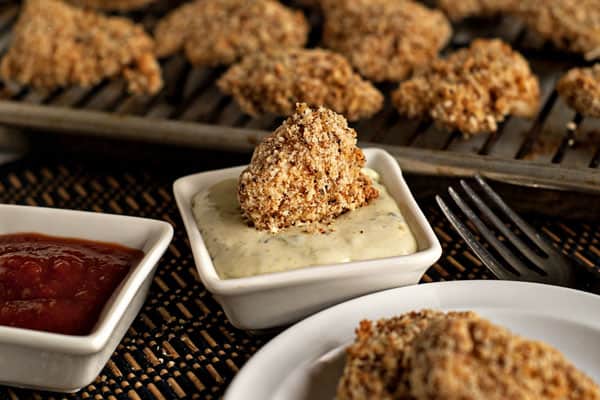
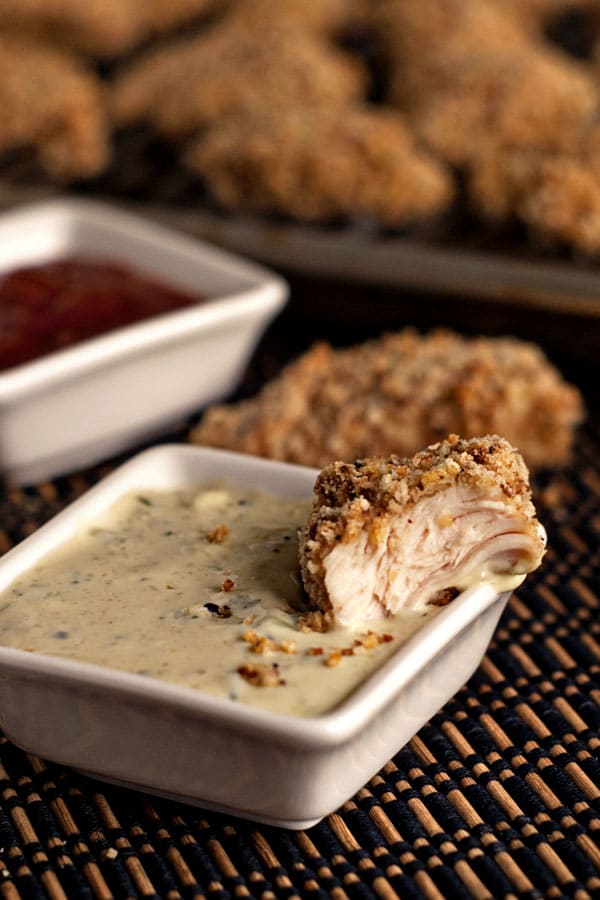
Crunchy, crispy, flavorful, and a heck of a lot better for you than those you can buy at the store.
Now, who's ready to make their own nuggets with their very own Magimix? Enter to win below the recipe!
📖 Recipe
Homemade Chicken Nuggets & GIVEAWAY!
Ingredients
- 4 boneless skinless chicken breasts cut into 1-2" pieces
- 2 C water
- 1 tablespoon + 1 teaspoon kosher salt
- 2 tablespoon Worcestershire sauce
- ½ C all purpose flour
- 2 ½ C panko bread crumbs
- ½ teaspoon garlic powder
- 2 teaspoon onion powder
- ¾ teaspoon black pepper
- ½ teaspoon baking soda
- ¼ teaspoon kosher salt
- 1 egg + 2 tablespoon water
Instructions
- Combine water, salt and Worcestershire sauce in a measuring bowl or cup and pour over cut chicken. Let brine for 30 minutes to 1 hour.
- In a medium-sized pan, combine bread crumbs and olive oil and stir until combined. Toast over medium heat until crumbs turn golden.
- Combine bread crumbs, flour, spices, baking soda, and salt in a food processor or blender and process for about 30 seconds or until the bread crumbs are about half of their original size. Pour mixture into a ziplock bag.
- Drain chicken from the brine and dry well with paper towels.
- Dip each piece of chicken into the egg mixture and then into the breading making sure each piece gets an even coating.
- Place the breaded chicken in a single layer on a baking sheet topped with a cookie rack. The cookie rack will help them to stay crisp.
- Bake @400 degrees for 12 minutes or until the chicken is cooked through.

David Haug says
Lasagna!
Jaque R. says
Soup! I love home made soup. 🙂 Thank you.
K. Cleaver says
I would make a batch of hummus first. I borrow my mothers once in awhile, especially when I want to make a homemade pie crust.
Sherry Conrad says
Almond butter
Shannon Barnes says
Homemade bread crumbs.
Angie Ukena says
i would make some salsa