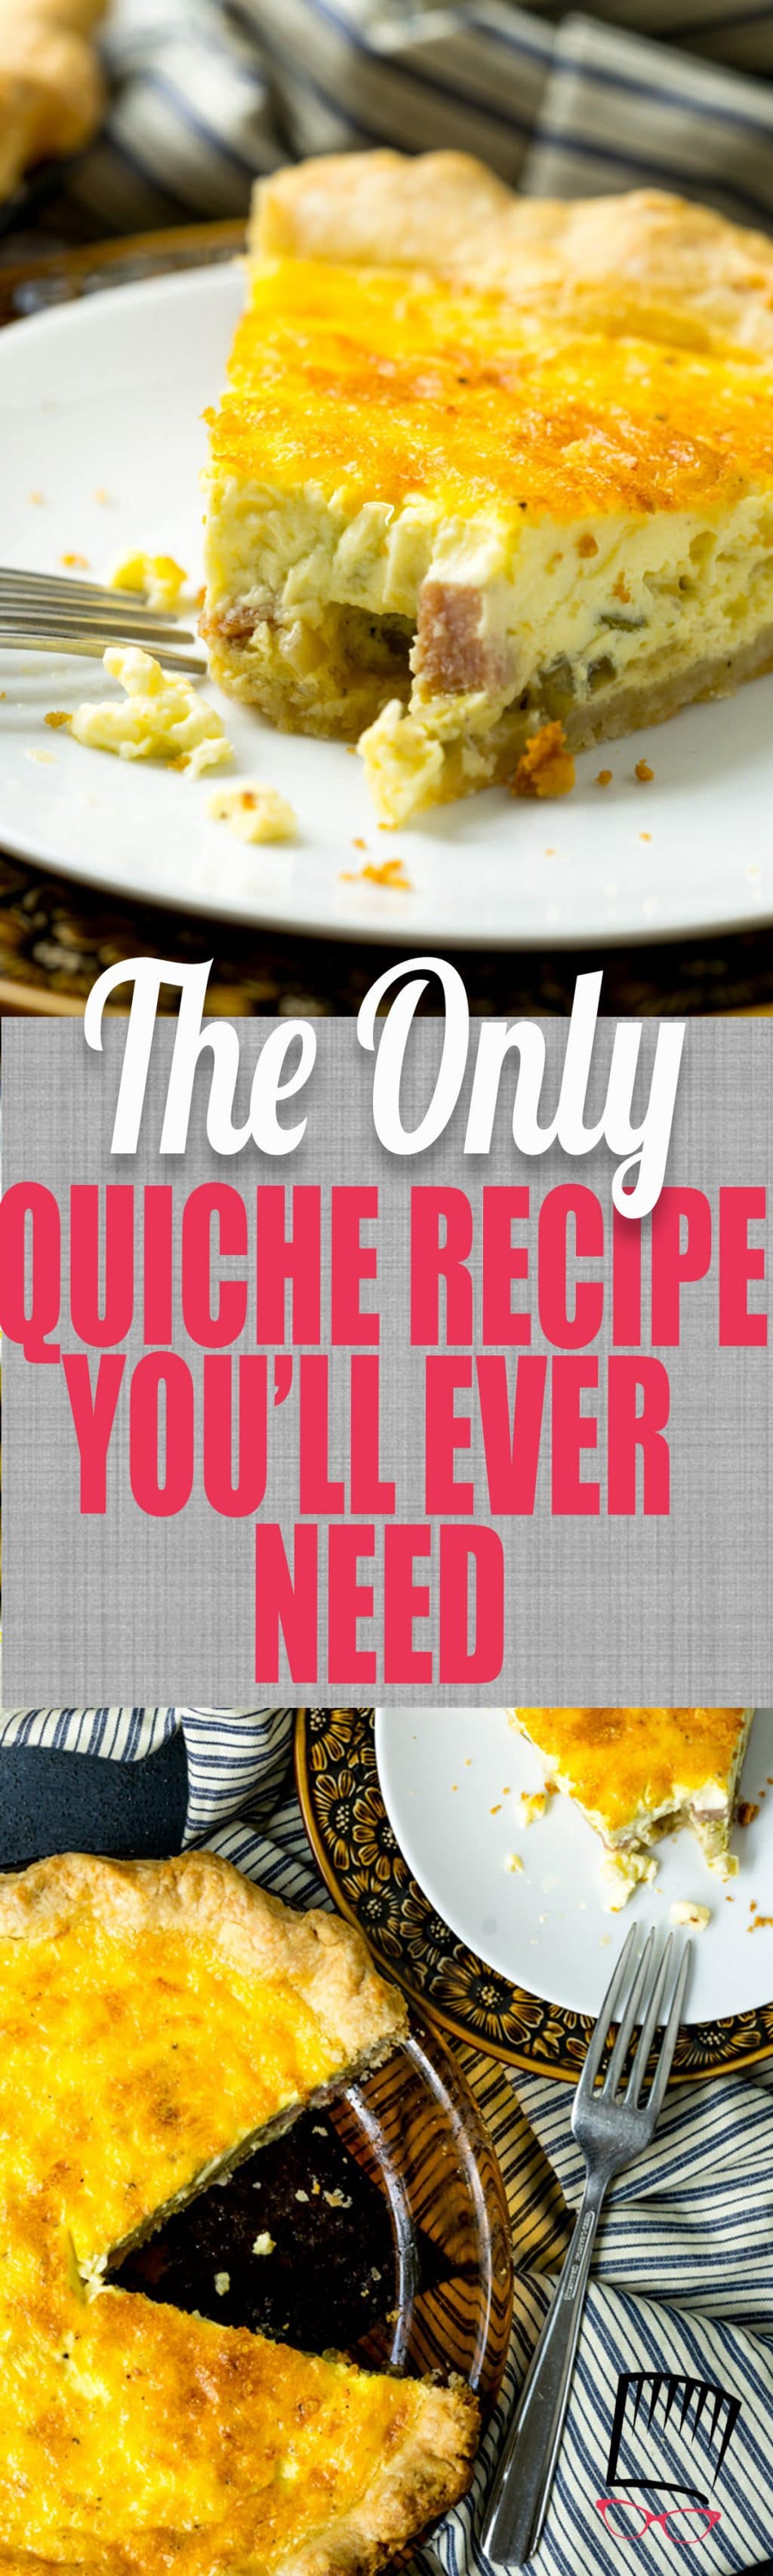
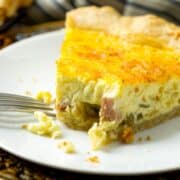
This is the best basic quiche recipe there is, and it can be totally tailored to your taste by switching out the mix-ins. BUT, it's the egg custard that is the shining star here-- creamy, dreamy, and delicious! 
If you're a fan of quiche, you're going to want to keep reading. This recipe is an amazing basic quiche recipe that is nothing short of phenomenal and you can stir in any of your favorite toppings to make it your own. But first, I need to give you a little background.
This is a sponsored conversation on behalf of California Olive Committee, all thoughts and opinions are my own.
A few weeks ago I had the chance to travel to the gorgeous Napa Valley and meet up with the people of California Ripe Olives. We ate more olives than I care to admit and had a fabulous time learning about California Ripe Olives from the olive growers themselves!
Like, did you know that olives straight off the tree are far too bitter to eat?

Or that the "ripening" method used for California olives today was invented by a housewife in late 1800 named Freda Ehmann? It is a seven-day process that starts by putting the olives into a curing solution to filter the natural bitterness out. The olives then go through a series of cold-water rinses, which remove every trace of curing solution.
Ever wonder why black olives are that gorgeous black color? Throughout the multi-day curing process, pure air is constantly bubbled through the olives, and it causes them to oxidize! It's fascinating!
We spent our weekend at The Culinary Institute of America (CIA) in Napa, and it totally made me itch to go back to cooking school. The new wave of students were preparing for their first day while we were there and it brought back so many fun memories of my time at cooking school. I've helped the hubs through almost ten years of school; maybe I can coerce him into moving to Napa once he's done? Ha!

The building the school is housed is gorgeous and is a converted wine cellar from the late 1800's.

Not a bad view, eh?

We spent our time learning about olives but also got to cook with them in one of the CIA kitchens. We were put into teams, and here I am with my teammates, Leigh Anne from Your Home Based Mom and Kellie from The Suburban Soapbox. Our other teammate, Karista from Karista's Kitchen, was behind the camera and they are basically some of the sweetest, best bloggers there are.

Our challenge was to come up with a dish that included olives-- which wasn't very hard to do since they go with everything. We came up with a pan-seared pork tenderloin over goat cheese polenta, served with a green olive and kumquat relish and roasted asparagus garnished with toasted pine nuts. It's kind of hard to see the pork in the photo below, but IT. WAS. SO. GOOD.

Once I was home, I broke open a can of California Ripe Green Olives and got to cooking, because there's never enough olives, in my opinion, and I made a quiche. Not just any quiche, though. It was the be all, end all of quiches. I'm not joking-- the way that this recipe came into existence is pretty amazing.

The Story of the Best Quiche Recipe
So, I flew to California a day early to spend some time with a friend in San Fransisco and decided to eat all the San Fran food we could in our 26.5 hours together. I'm planning on putting together a post on all the food we ate soon, so stay tuned! But, BUT, one of our favorite things we ate was the quiche at b. Patisserie. It was creamy and rich, and alllmoosst had the consistency of a creme brulee. It was unlike any other quiche I had ever tried, and I LOVED it.

Fast forward a few days later, I'm sitting on the plane with my new friend Karista and in some totally random round-out about way while talking Culinary School; she starts telling me about how one of her instructors at school taught her to make a quiche. She continued about how amazing it was, and it sounded just like the one I had eaten from b. Patisserie! Mind blown.
Here's the trick to this basic quiche recipe
In a typical quiche recipe, I would usually add six maybe even up to 8 eggs to make the custard-- it's an "egg pie," after all. But the quiche Karista makes, and I now have a hunch that b. Patisserie does as well, uses a ratio of ½ C heavy cream to 1 egg for their egg mixture. It seems like a lot of cream per egg, but it's what makes all the difference!
The egg mixture is so creamy and light, but still firm. It's not slimy and doesn't taste undercooked at all. It's just creamy, dreamy perfection.

Making the best quiche recipe your own
The beauty of this basic quiche recipe is that the egg custard is definitely the shining star, but you can add whatever you'd like to it, in the right amount. The trick is not to overload it with mix-ins-- you only want about 1 to 1 ½ cups total of other ingredients, or you'll have a hard time with it keeping it's shape since the egg is so soft.
I opted for chopped California Ripe Green Olives, along with caramelized onions, diced ham, and a little bit of sharp white cheddar. The olives added just the right amount of salt, and bite paired with the ham, onions, and cheese.

I truly enjoyed my time in Napa with the California Olive Committee, and if you've never gotten your hands on a can of them, they are amazing. You'll know it's theirs by finding the“Product of the U.S.A.” on the back of the can! You can also keep up to date with them on their Facebook page-- Facebook.com/CaliforniaRipeOlives.
Want more olive recipes?
📖 Recipe
The Best Basic Quiche Recipe
Ingredients
- 1 ½ cup heavy cream
- 3 large eggs
- ⅛ teaspoon black pepper
- ¼ teaspoon kosher salt
- ¼ cup California Ripe Green Olives chopped
- ¼ cup sharp white cheddar grated
- ¼ cup diced ham
- ¼ cup caramelized onions *see notes*
Instructions
- Preheat oven to 350 degrees.
- Combine eggs, cream, salt and pepper in a medium-sized bowl and whisk until well combined.
- Layer olives, cheese, ham, and onions into the pie crust and pour egg mixture over the top.
- Place pie pan on a baking sheet and bake for 60 minutes or until the center of the quiche is just set-- it will jiggle like jello right in the center and when you insert a knife into the center it will come out with just moisture on the blade.
- Remove from oven and allow to cool for at least 15 minutes before slicing.
Chef's Notes:
- Browned Breakfast sausage
- Crumbled Bacon
- Roasted Red Peppers
- Fresh, diced tomatoes
- Steamed Broccoli (finely chopped)
- Any kind of cheese
- Sauteed Kale, spinach or Mushrooms
- Potatoes, diced and cooked
Nutrition Facts

Fran says
What size pie plate did you use?
Jan frandsen says
love this recipe but wondered it you have tried making it crustless?