Skip to primary navigation
Skip to main content
Skip to primary sidebar
Recipe Index
About
Contact
Privacy Policy
search...
menu icon
subscribe
search icon
search...
Recipe Index
About
Contact
Facebook
Instagram
Pinterest
YouTube
×
Home
Search Results for: pizza
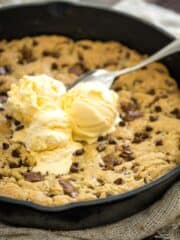
Chocolate Chunk Pizookie (Skillet Cookie or Pizza Cookie!)
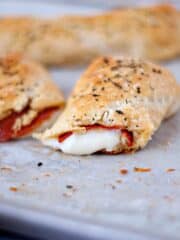
Easy Pizza Sticks
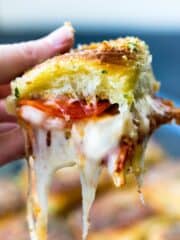
Hawaiian Roll Pizza Sliders
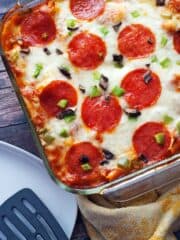
Pizza Tortellini Bake
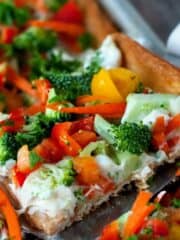
Garden Vegetable Appetizer Pizza
Chicken and Bacon Garlic Bread Pizza
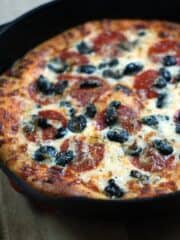
Pizzeria-Style Homemade Deep Dish Pizza Dough
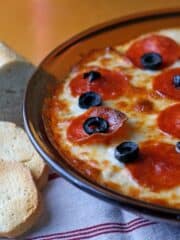
Supreme Pepperoni Pizza Dip
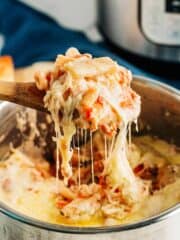
Instant Pot Pasta Al Forno
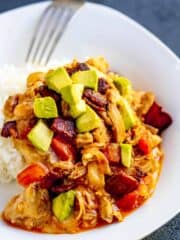
Slow Cooker Monterey Chicken
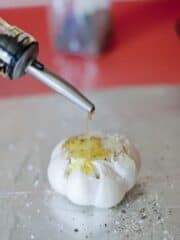
How to Roast Garlic
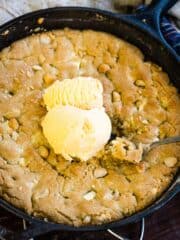
White Chocolate Macadamia Nut Pizookie (Skillet Cookie)
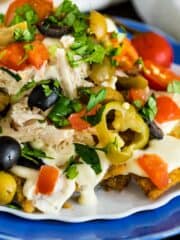
Italian Nachos with Fried Pasta Chips
Sour Cream and Onion Dip
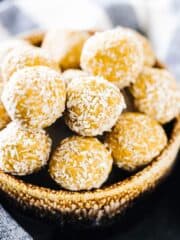
Peanut Butter Protein Balls
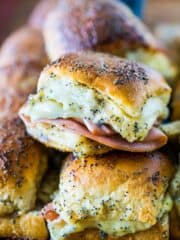
Sweet Ham and Swiss Sliders
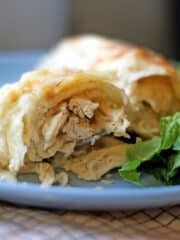
Copycat Wingers Sticky Fingers Recipe
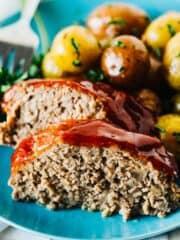
Slow Cooker Meatloaf and Potatoes with Garlic Butter
Microwave Chocolate Chip Pizookie Recipe
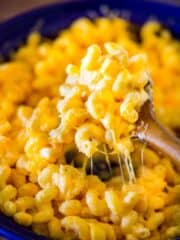
Better Than Costco Mac and Cheese
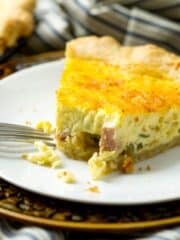
The Only Basic Quiche Recipe You'll Ever Need
Sour Cream Chicken Enchiladas
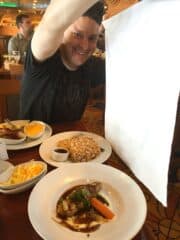
The Best 11 Things I Ate On My Carnival Cruise
Why Getting Hurt on My First Carnival Cruise Was the Best Thing Ever
Go to page
1
Go to page
2
Go to
Next Page »
Dinner Recipes
Breads
Side Dishes
Breakfast Recipes
Appetizer Recipes