Skip to primary navigation
Skip to main content
Skip to primary sidebar
Recipe Index
About
Contact
Privacy Policy
search...
menu icon
subscribe
search icon
search...
Recipe Index
About
Contact
Facebook
Instagram
Pinterest
YouTube
×
Home
Search Results for: taco
Mexican Style Ground Beef Taco Meat
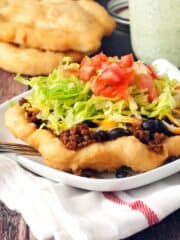
Navajo Tacos
Zesty Philly Steak and Cheese Tacos
Buffalo Ranch Chicken Tacos
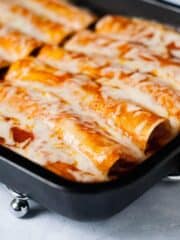
Taco Chicken Enchiladas
Slow Cooker BBQ Chicken Taco Salad
Baked Crunchy Taco Casserole
Broiled Fish Tacos w/ Tangy Slaw
Crockpot Chicken Ranch Tacos
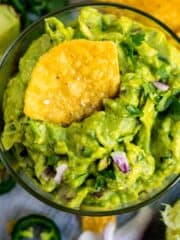
The Actual Chipotle Guacamole Recipe
Southwestern Potato Corn Chowder
Easy Mexican Rice Recipe
Crispy Beer Battered Fish and Chips
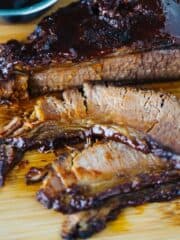
Instant Pot Brisket
Zesty Queso Keto Chicken Soup
The Best 11 Things I Ate On My Carnival Cruise
What To Do In Ensenada Mexico
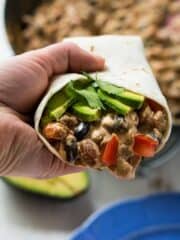
One Pan Crack Bean Burritos
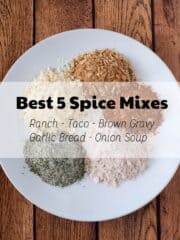
Homemade Spice Mix Recipes + Printable
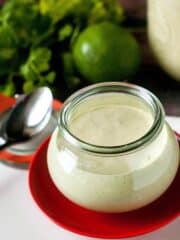
Creamy Cilantro Lime Dressing {Cafe Rio CopyCat}
Slow Cooker Salsa Chicken Chili
Black Bottom Banana Cream Pie
Chile Colorado Burritos
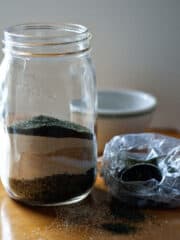
Homemade Ranch Dressing Mix
Dinner Recipes
Breads
Side Dishes
Breakfast Recipes
Appetizer Recipes