Skip to primary navigation
Skip to main content
Skip to primary sidebar
Recipe Index
About
Contact
Privacy Policy
search...
menu icon
subscribe
search icon
search...
Recipe Index
About
Contact
Facebook
Instagram
Pinterest
YouTube
×
Home
/
You searched for bbq
Search Results for: bbq
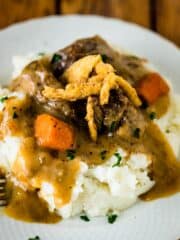
Instant Pot Pot Roast (Tavern Style)
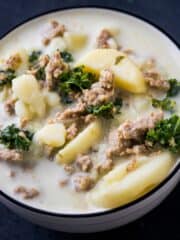
Instant Pot Zuppa Toscana
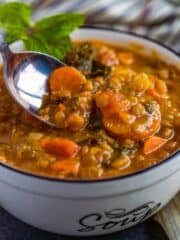
Instant Pot Lentil Soup
Instant Pot Cheesy Potato Soup
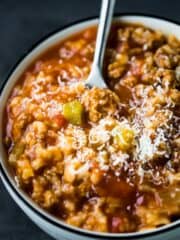
Instant Pot Stuffed Bell Pepper Soup
Four 7 Minute Instant Pot Soup Recipes
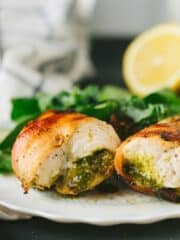
Bacon Wrapped Pesto Chicken
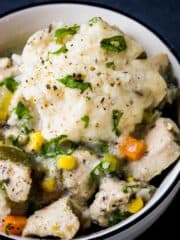
Instant Pot Chicken Dumpling Soup
Easy Thai Coconut Lemongrass Ramen
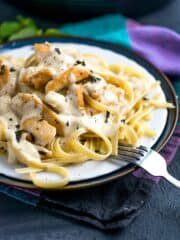
Instant Pot Chicken Fettuccini Alfredo
Quick and Easy Terriyaki Chicken Big Bowl
Sticky Sweet Chili Chicken
Baked Ricotta Chicken
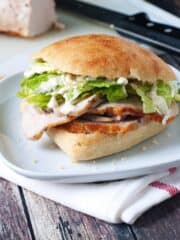
Caesar Pork Tenderloin Sandwiches
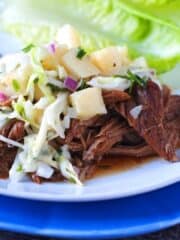
Smoky Slow Cooker Pulled Pork With Pineapple Slaw
Slow Cooker Salsa Chicken Chili
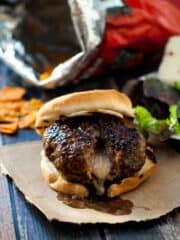
Pepper Jack Stuffed Doritos Burgers
Banh Mi Style Pulled Pork Sandwiches
Welcome to Heather Likes Food!
Spiced Apple Pork Burgers & Strawberry Banana Smoothie Pops
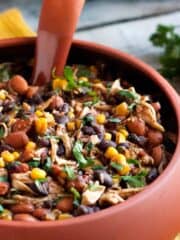
Fiesta Slow Cooker Chicken Tortilla Soup
Fancy Pants Street Vendor Hot Dogs
Homemade Ranch Dressing Mix
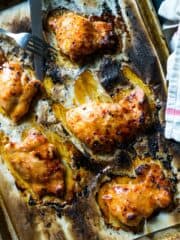
Orange Sticky Finger Ribs
«
Go to
Previous Page
Go to page
1
Go to page
2
Go to page
3
Go to page
4
Go to
Next Page »
Dinner Recipes
Breads
Side Dishes
Breakfast Recipes
Appetizer Recipes