You don't need to run to Olive Garden when you're craving soup! This Instant Pot Zuppa Toscana takes only 7 minutes and tastes like it's been simmering all day!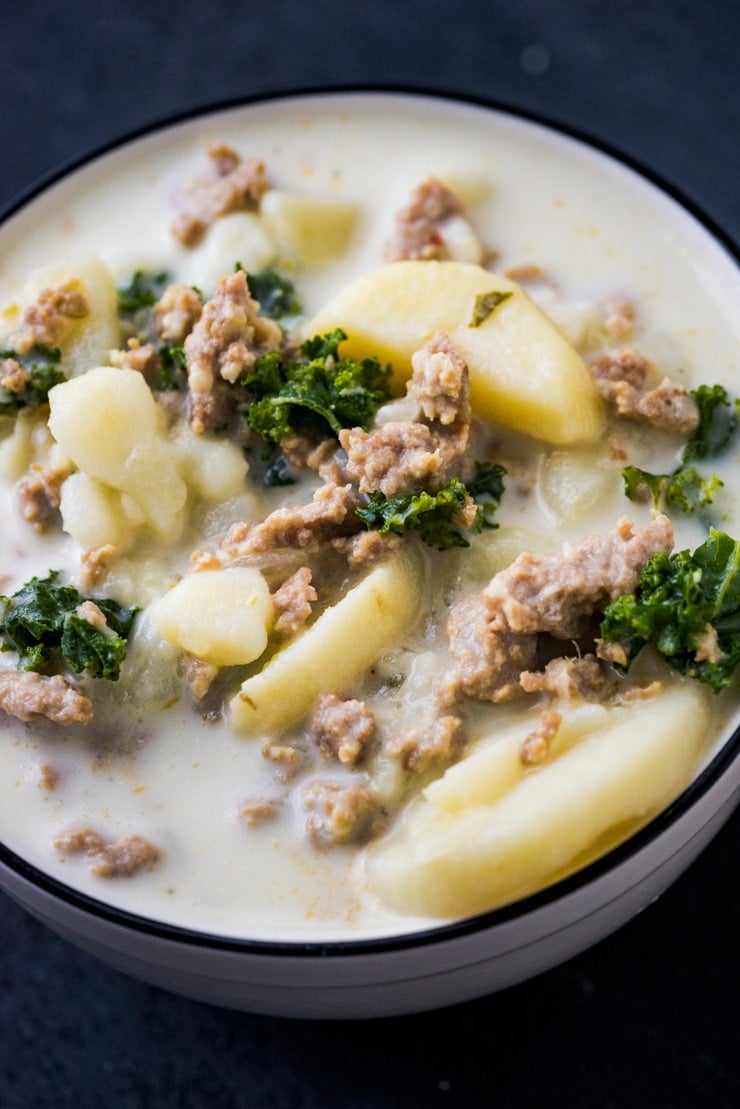
This Instant Pot Zuppa Toscana is the ultimate quick-fix soup that tastes like it's been simmering all day!
If you've been to Olive Garden, it's likely you've tried this staple soup. It is brothy yet creamy and loaded with soft potato, tender kale, and spicy Italian sausage. It's probably on my list of top five favorite soups ever!
I love making this in the Instant Pot because it cooks the potatoes so quickly and makes the sausage so tender it almost melts into the soup.
The best way to eat this Instant Pot Zuppa Toscana is definitely with a big loaf of crusty bread to soak up all the broth. If you need a good bread recipe, this no-knead bread goes perfectly with it!

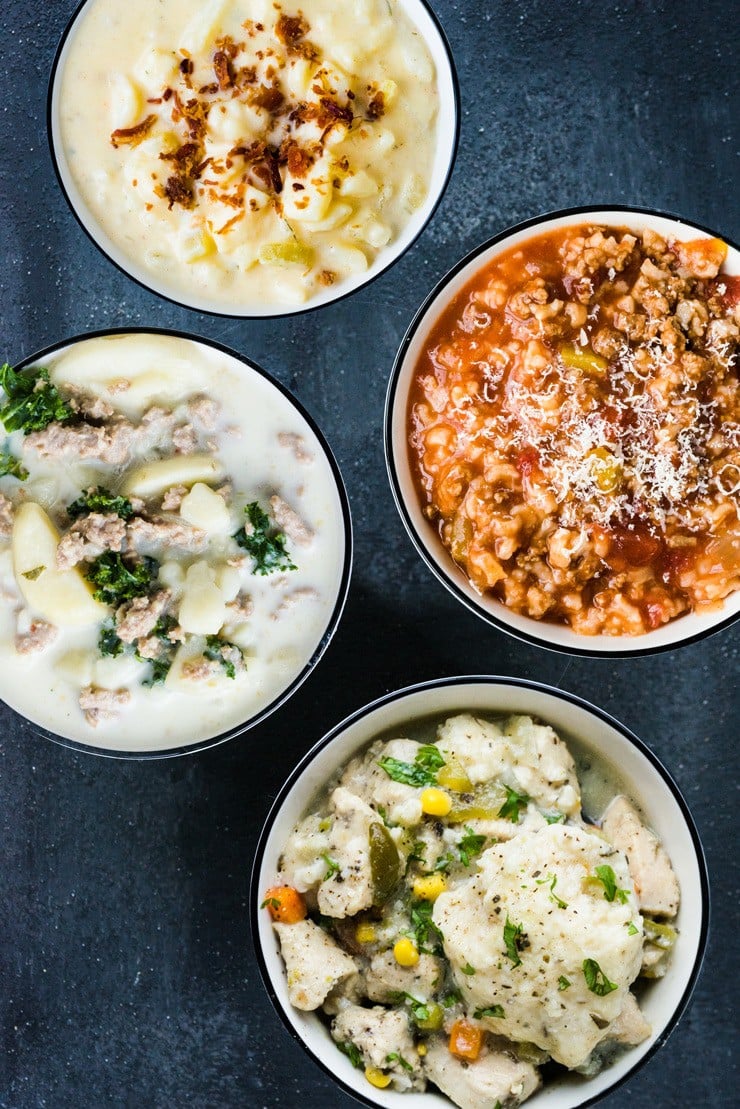
Want More Easy Instant Pot Soup Recipes?
- Four 7 Minute Instant Pot Soup Recipes
- Instant Pot BBQ Chicken Chili with Pineapple
- Lentil Soup Made In The Instant Pot
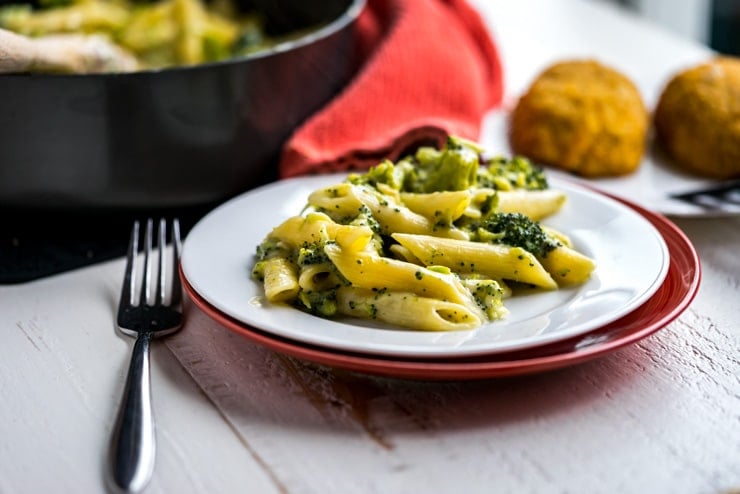
- Instant Pot Broccoli and Four Cheese Soup
Tools I Use For Instant Pot Zuppa Toscana:
- The Instant Pot 🙂 : This is the model that I have and LOVE. My Instant Pot has been with me for over a year, and I’ve put it through the ringer, but still works like new! It’s changed the dinnertime routine at our house and helps me make meals in under an hour that used to take HOURS!
- The Chop Stir: This strange little tool makes short work of browning ground meat with its odd shape that allows it to crumble the meat quickly as it cooks.
📖 Recipe

Instant Pot Zuppa Toscana
Ingredients
- ½ pound Italian Pork Sausage
- ½ pound Italian Seasoned Ground Turkey
- 4 whole medium potatoes peeled and sliced
- 1 whole large onion diced
- 2 cloves garlic minced
- 6 cups chicken broth
- 1 teaspoon kosher salt
- 2 cups kale tough ribs removed and chopped
- 1 cup cream
Instructions
- Set the Instant Pot to "Saute" and brown and crumble sausages until cooked through. Drain off excess fat or use a paper towel to absorb it. Return to pot.
- Add onion, potatoes, garlic, chicken broth and salt to the pot and stir to combine.
- Place and secure the lid on the Instant Pot, cancel the "Saute" mode and set it on "Manual" mode. Enter 7 minutes cooking time at High Pressure and allow to cook.
- Once cooking time is up, do a manual release of pressure or allow it come down naturally. Remove lid.
- Stir in kale and cream. Allow soup to sit for 5 minutes to allow kale to soften and serve.


 Want More Easy Instant Pot Soup Recipes?


 I'll admit that these are not what you might expect when you think of a lemon bar. They don't have a shortbread crust, the filing is creamy instead of translucent and there's a crumb topping on the top that "normal" lemon bars don't have. But, you guys, if calling these the BEST lemon bars ever is wrong, I don't want to be right.


 #pasta #italianstyle #italian #italianfood #noodles #parmesan #dinnertime #dinner #dinnerrecipes #winner #instantpot #recipeideas #recipeoftheday #recipeoftheweek #recipes_to_go #quickandeasy #garlic")
 #pasta #italianstyle #italian #italianfood #noodles #parmesan #dinnertime #dinner #dinnerrecipes #winner #instantpot #recipeideas #recipeoftheday #recipeoftheweek #recipes_to_go #quickandeasy #garlic")
 #pasta #italianstyle #italian #italianfood #noodles #parmesan #dinnertime #dinner #dinnerrecipes #winner #instantpot #recipeideas #recipeoftheday #recipeoftheweek #recipes_to_go #quickandeasy #garlic")