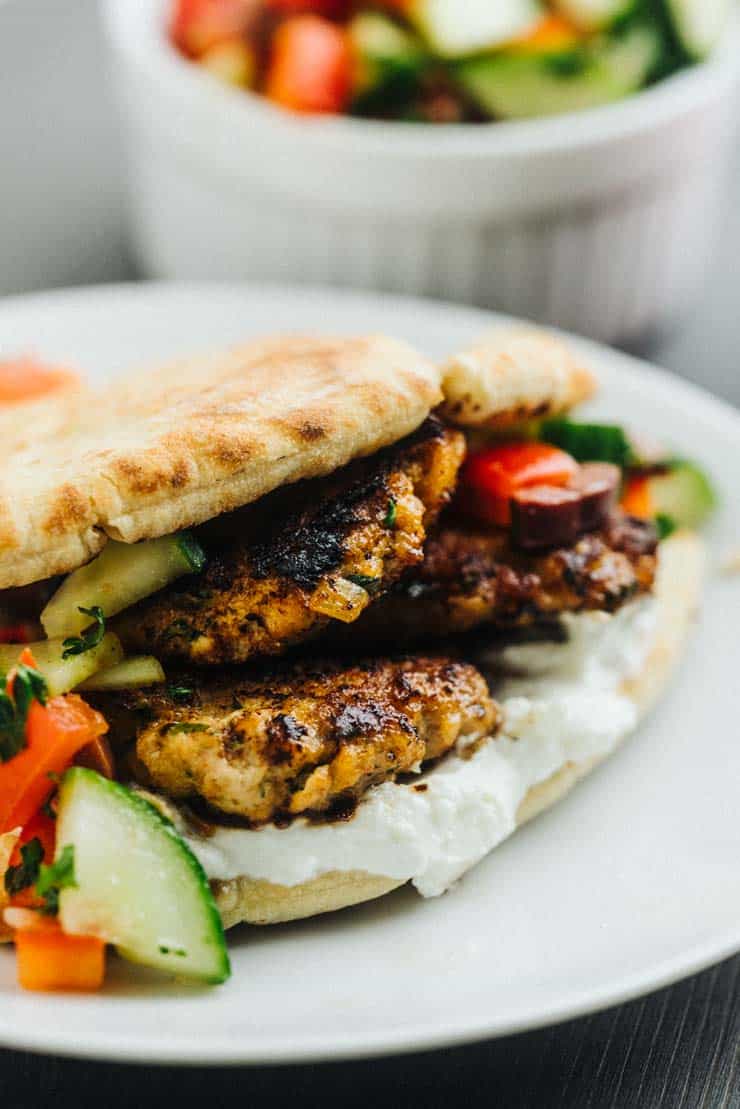
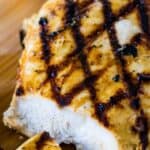
If you've ever been to Wingers, you know their Sticky Fingers are amazing! This copycat wingers sticky fingers recipe is sweet and spicy makes amazing chicken strips that are perfect for throwing into salads, wraps, or just eating on their own! 
Wingers Sticky Fingers
When I was pregnant with my first daughter, I was super sick. When the morning sickness (more like the morn, noon, and night sickness) set in, I was in the middle of finishing up my last term of cooking school and had to be in a steamy little kitchen just about all day, every day.
I had the kitchen mapped out- I knew the exact location of every trash can should I need to retreat and I'm pretty sure I scared every single one of my classmates with my mood swings at some point.
Despite how sick I was, I had some weird cravings. Not like fried chicken feet with Nutella weird, but I craved super strong flavors. Things like garlic stuffed green olives, cheesy pizza with sausage, and Winger's Sticky fingers were at the top of my list for consumption.
Most of the time eating these things made me sicker after the fact from heartburn, but it was so miraculous that I actually felt like eating something that I welcomed it.

I really wish I would have found this Wingers Sticky Fingers recipe, er, eleven years ago when we were spending way too much on appeasing my cravings. If you've been to Winger's, you know how good these are! If you haven't tried them, it doesn't matter because now YOU can make them and they taste just as amazing as getting them from the restaurant (IMHO).
Tips for making this Wingers Sticky Fingers Recipe
- The sauce is ridiculously easy to make, just make sure you use Frank's Red hot original sauce. Using this will make all the difference. I think it's fairly easy to find in most grocery stores and I've linked to it below.
- For the chicken, I use frozen, breaded chicken fingers straight out of the freezer case at the grocery store and either bake or fry them depending on how naughty I'm feeling. Deep frying them definitely give them that little extra push to make them just like Wingers'.
With the Super Bowl right around the corner, these would be great- and easy- to serve with some celery sticks and ranch or blue cheese dressing! For the record, this sauce is also great on burgers, wings, ribs, or by the spoonful. I won't judge.
Other Chicken Recipes You Might Like
- Chicken lo mein recipe
- Pesto Parmesan Chicken
- Easy Chicken Cacciatore
- Smothered Chicken Breast
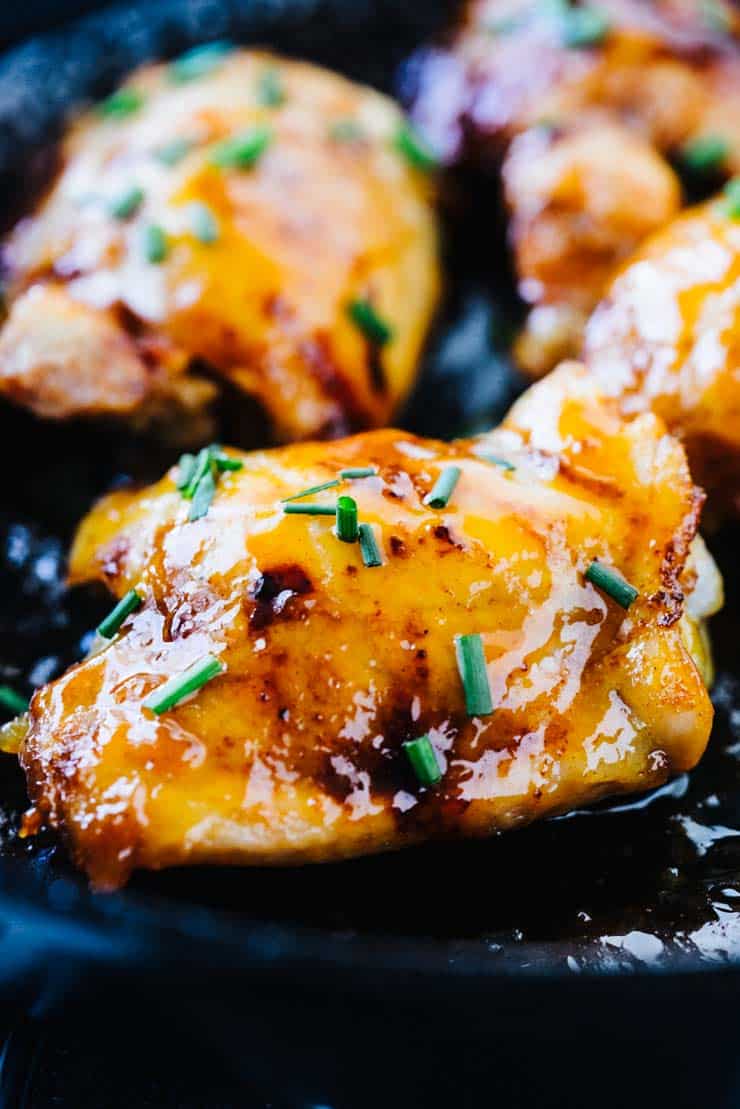
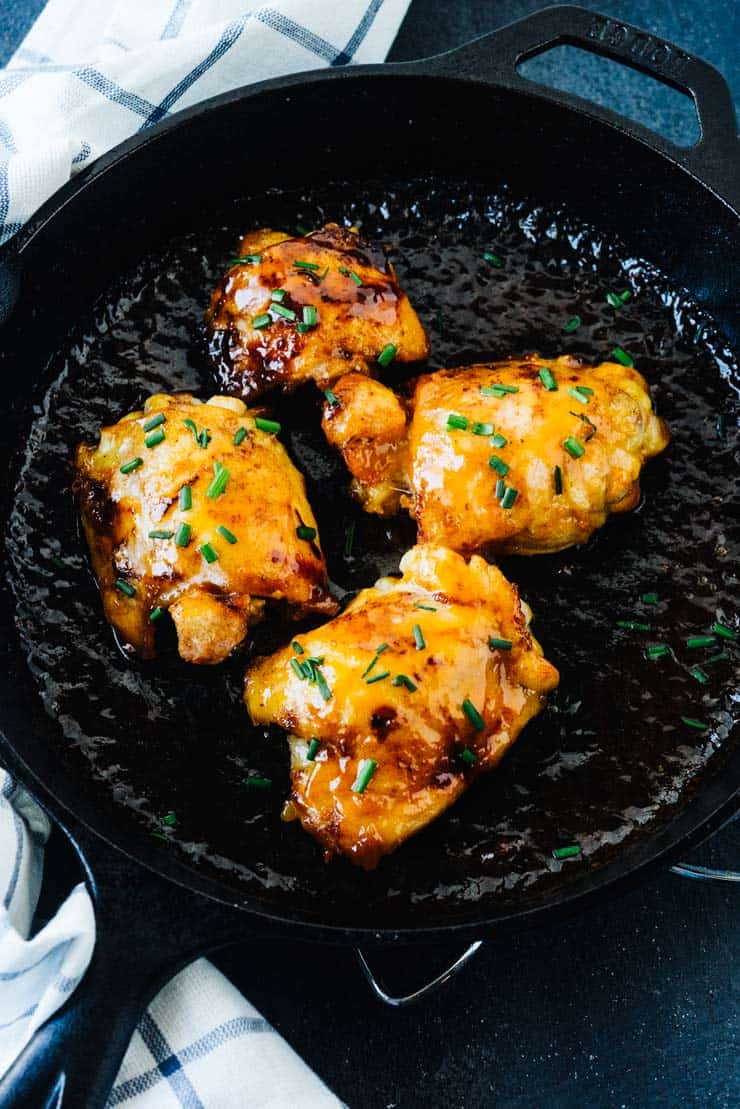
- Honey Dijon Chicken Thighs
- garlic chicken thighs
- Ranch Chicken Marinade
- Simple Grilled Chicken Recipe
- Chicken Keto Soup
- Barbecue Chicken
- Sweet Chili Sauce Chicken
- Oven Fried Chicken Breast
- Chicken Ricotta
- Chicken Curry with Coconut Milk
Tools used for this Wingers Sticky Fingers Recipe
- Franks Hot Sauce: I've tried a few different brands of hot sauce for the wingers sticky fingers sauce, and this one definitely takes the cake.
- Nordicware ½ Sheet Pans: I LOVE these sheet pans! They last a long time, are commercial-grade and bake evenly!
- OXO Stainless Steel Tongs: These tongs take a beating in my kitchen. They go from the grill for flipping meats to the salad bowl for tossing with very little complaint. They are built like a tank and have silicone grips that make them super easy to use, even with my very small hands.
**This Post was originally published on Heather Likes Food in January of 2012**
📖 Recipe

Winger’s Sticky Fingers Copy Cat Recipe
Ingredients
- 1 ½ cup brown sugar
- ⅓ cup Frank’s Red Hot Original Sauce
- 1 tablespoon water
- 1 tablespoon corn syrup
Instructions
- In a small sauce pan combine all ingredients and heat over medium heat, stirring until the sugar has dissolved. Bake or fry chicken and dip or pour sauce over the chicken strips until they are well coated.


 #brownies #caramel #dessert #dessertrecipes #dessertmaster #desserttable #chocolatechip #chocolatelovers #chocolaterecipes #recipeideas #recipeoftheday #recipeoftheweek")
 #brownies #caramel #dessert #dessertrecipes #dessertmaster #desserttable #chocolatechip #chocolatelovers #chocolaterecipes #recipeideas #recipeoftheday #recipeoftheweek")
 #brownies #caramel #dessert #dessertrecipes #dessertmaster #desserttable #chocolatechip #chocolatelovers #chocolaterecipes #recipeideas #recipeoftheday #recipeoftheweek")
 #brownies #caramel #dessert #dessertrecipes #dessertmaster #desserttable #chocolatechip #chocolatelovers #chocolaterecipes #recipeideas #recipeoftheday #recipeoftheweek")
 #brownies #caramel #dessert #dessertrecipes #dessertmaster #desserttable #chocolatechip #chocolatelovers #chocolaterecipes #recipeideas #recipeoftheday #recipeoftheweek")
 #brownies #caramel #dessert #dessertrecipes #dessertmaster #desserttable #chocolatechip #chocolatelovers #chocolaterecipes #recipeideas #recipeoftheday #recipeoftheweek")
 #brownies #caramel #dessert #dessertrecipes #dessertmaster #desserttable #chocolatechip #chocolatelovers #chocolaterecipes #recipeideas #recipeoftheday #recipeoftheweek")
 #brownies #caramel #dessert #dessertrecipes #dessertmaster #desserttable #chocolatechip #chocolatelovers #chocolaterecipes #recipeideas #recipeoftheday #recipeoftheweek")
 #brownies #caramel #dessert #dessertrecipes #dessertmaster #desserttable #chocolatechip #chocolatelovers #chocolaterecipes #recipeideas #recipeoftheday #recipeoftheweek")
 #brownies #caramel #dessert #dessertrecipes #dessertmaster #desserttable #chocolatechip #chocolatelovers #chocolaterecipes #recipeideas #recipeoftheday #recipeoftheweek")


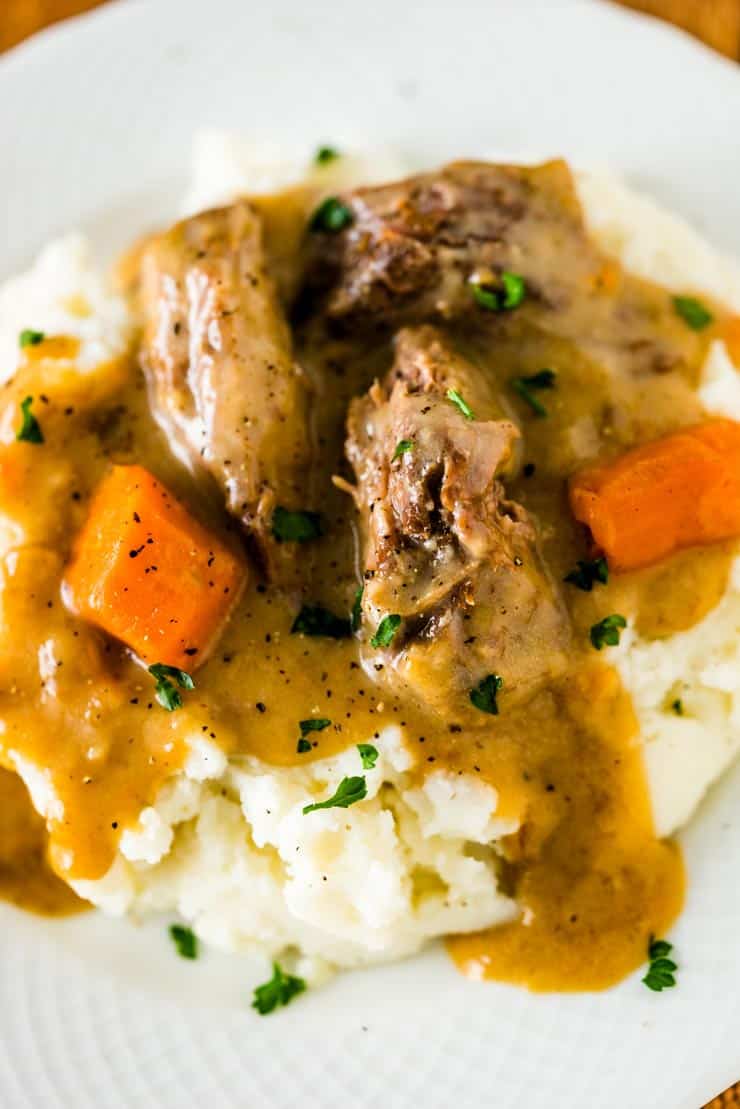
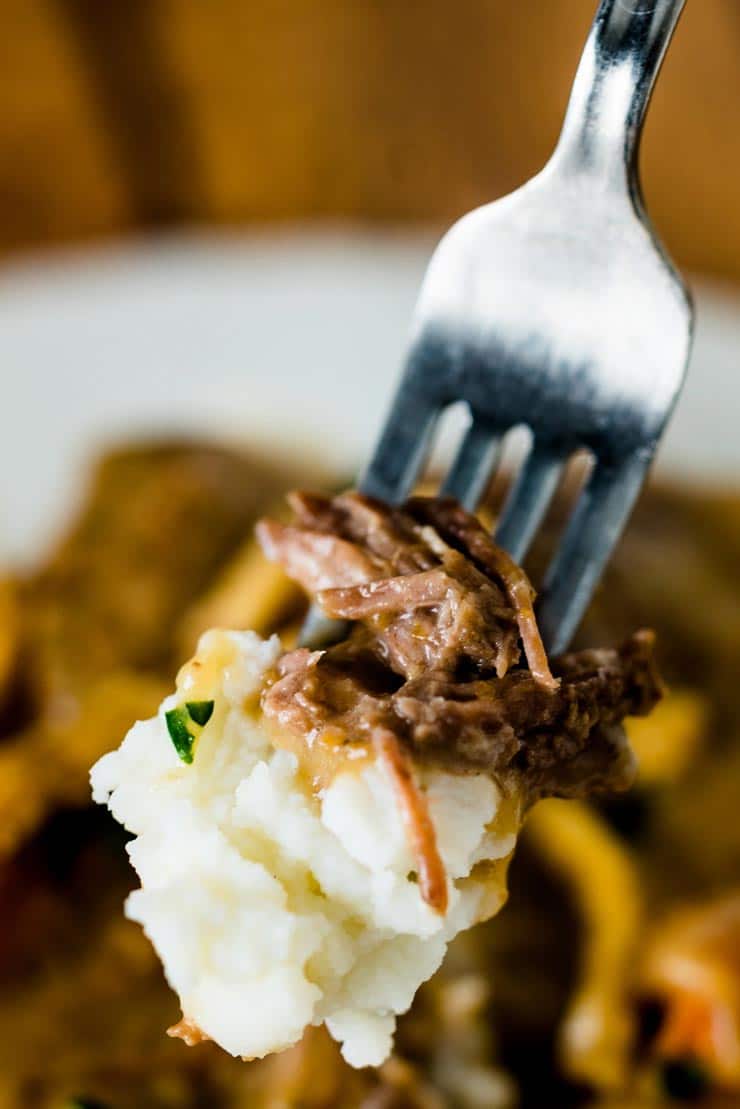
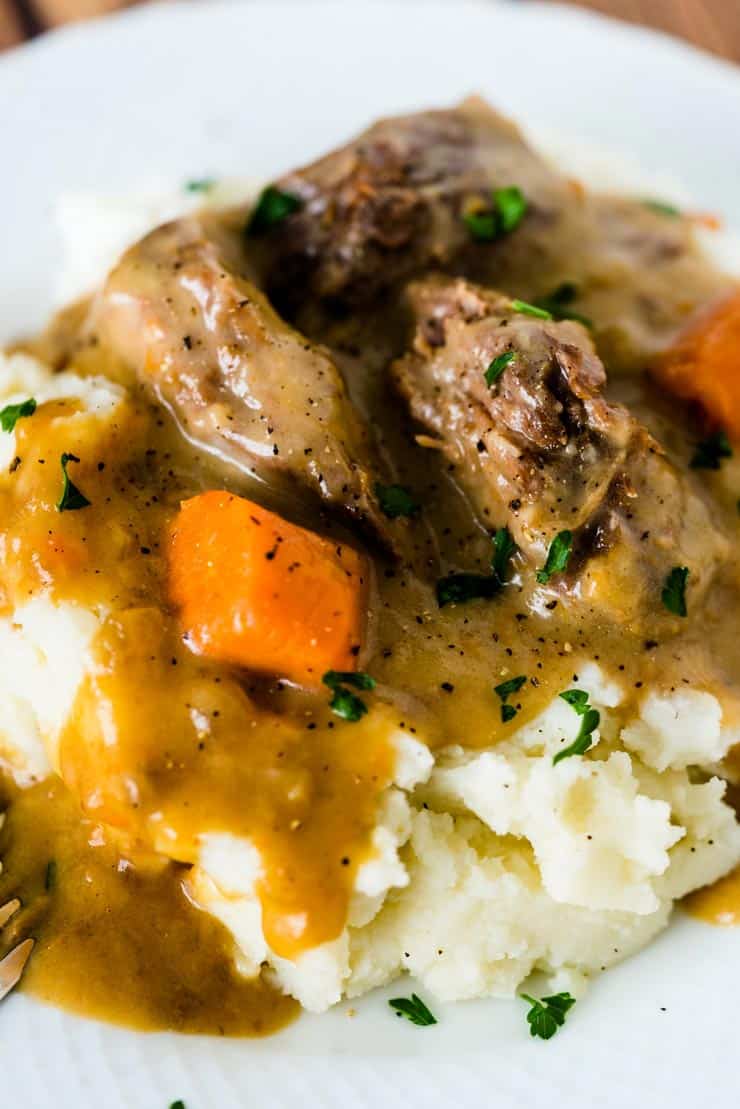
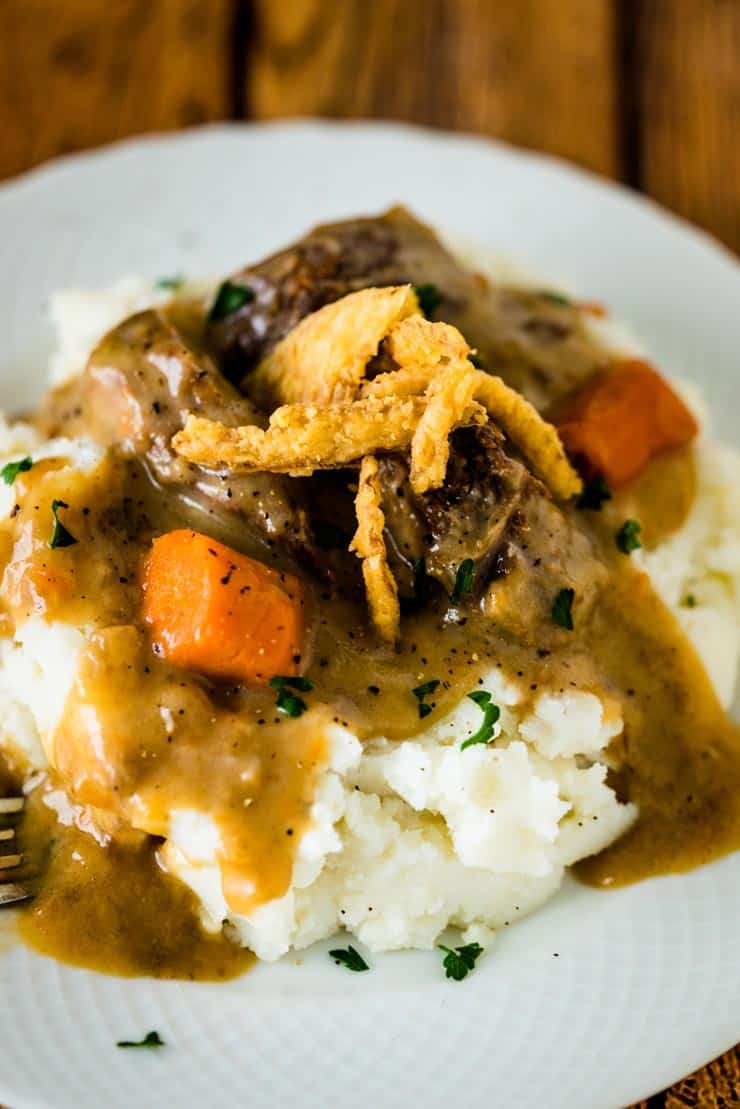 Instant Pot Pot Roast is one of my favorite things to make in my Instant Pot. I am admittedly unorganized when it comes to meal planning and traditional pot roast is something that just NEEDS planning.