This loaded Vegetable Diet Soup is, like the name, loaded with veggies and good-for-you fiber like kidney beans and barley. It's low in calories and super filling, making it my go-to lunch when I'm watching what I'm eating.

Loaded Vegetable Diet Soup-- I mentioned in my last post that I've lost 11 lbs in the past 3 weeks and I'm pretty excited about it. This is the first time since having babies that I've had success with diet and exercise. Previously, every time I'd try to lose some of the baby weight I'd have a really good first week, lose motivation, and be frustrated a week later. No good.
This time has been different because I'm actually doing it with a group of friend and we're able to keep each other in check and on track. The accountability has been huge for me! Aside from that I've cut out all refined sugars and flours, upped the fruit, veggies, and water intake, and am exercising 6 days a week. It probably sounds a little harsh, but so far it's worked! I don't intend on this being a permanent, everyday change for me but I figure I can do it for 8 weeks, lose some weight, maintain for a bit and hit it again until I'm down to where I want to be! Woot woot!

This "diet soup" has been a staple for me the past few weeks and I'm not sick of it yet! Its FULL of vegetables and has the addition of kidney beans and barely so that it keeps you full and satisfied. It's been my go-to lunch when I'm not in the mood for salad and want something hot and comforting. And since a single cup (8 oz) is only 80 calories you can eat until you're full and stay full! Yay!
If there's interest, I may do a post on the specifics of what I'm doing and eating to lose weight. Let me know what you think!

Want more easy soup recipes?
- Instant Pot Lentil Soup
- Slow Cooker Green Salsa Soup
- Roasted Tomato, Corn and Zucchini Soup
- Cauliflower Chowder
- Roasted Butternut Squash Soup with Bacon
📖 Recipe

Loaded Vegetable Diet Soup
Ingredients
- 1 tablespoons Olive oil
- 1 whole medium onion chopped
- 8 ounces white mushrooms
- 3 whole stalks celery chopped
- 2 whole small carrots peeled and chopped
- 1 teaspoon kosher salt
- 2 cloves garlic minced
- 1 teaspoon Italian seasoning
- 2 cups low-sodium V8 or tomato juice
- 4 cups low-sodium chicken broth
- 14.5 ounces Italian Seasoned Diced Tomatoes Undrained
- 14.5 ounces kidney beans drained
- 2 whole medium zucchini chopped
- 2 cups fresh or frozen green beans cut
- ¼ cup pearl barley
- hot sauce to taste-- I use 1 teaspoon
Instructions
- Saute onion, mushrooms, carrots, and celery in olive oil and salt until the vegetables are just tender.
- Stir in garlic, Italian seasoning, V8, chicken broth, tomatoes, kidney beans, zucchini, green beans and pearl barley and bring to a simmer.
- Cook at a low simmer for 20-30 minutes or until the barley and all the veggies are tender. Season to taste with hot sauce and serve with grated parmesan cheese.


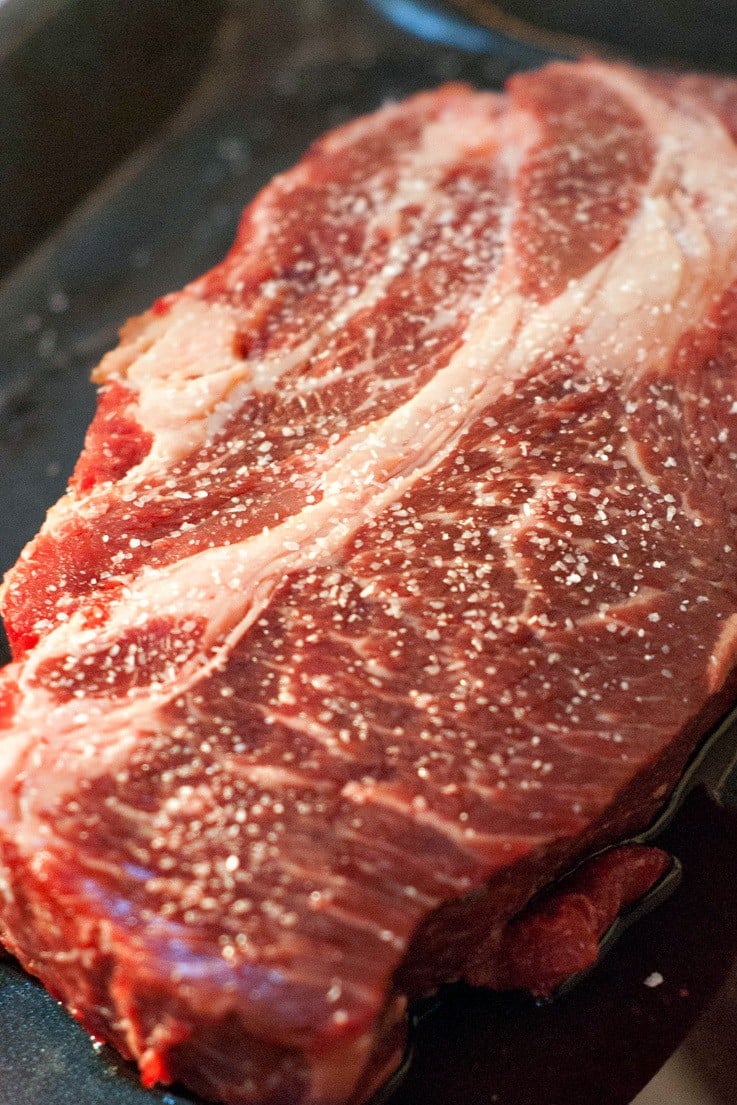 Another element of flavor comes from the vegetable trifecta-- mirepoix. It's just french fancy talk for carrots, celery and onions but it's the base that most stocks, sauces, stews and soups are made from and it's awesome.
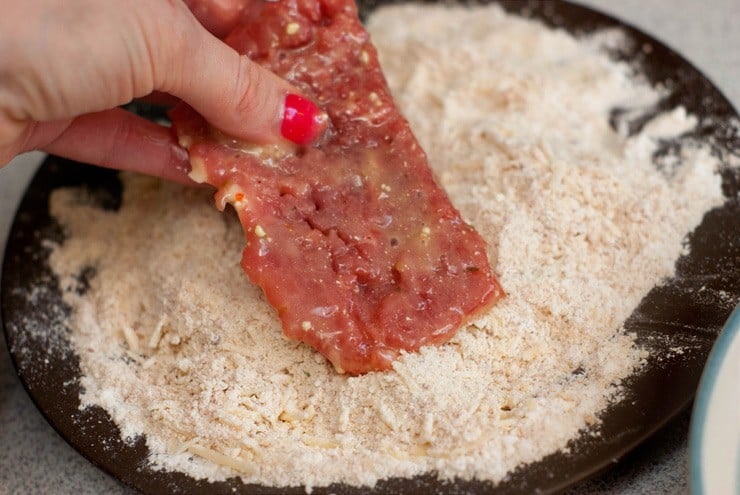
 Browning your meat and veggies before they go into the slow cooker with increase flavor by oodles and oodles. Serious.
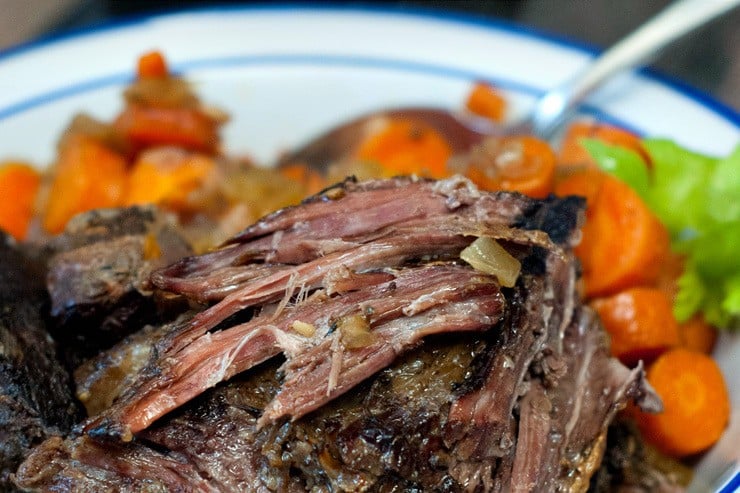
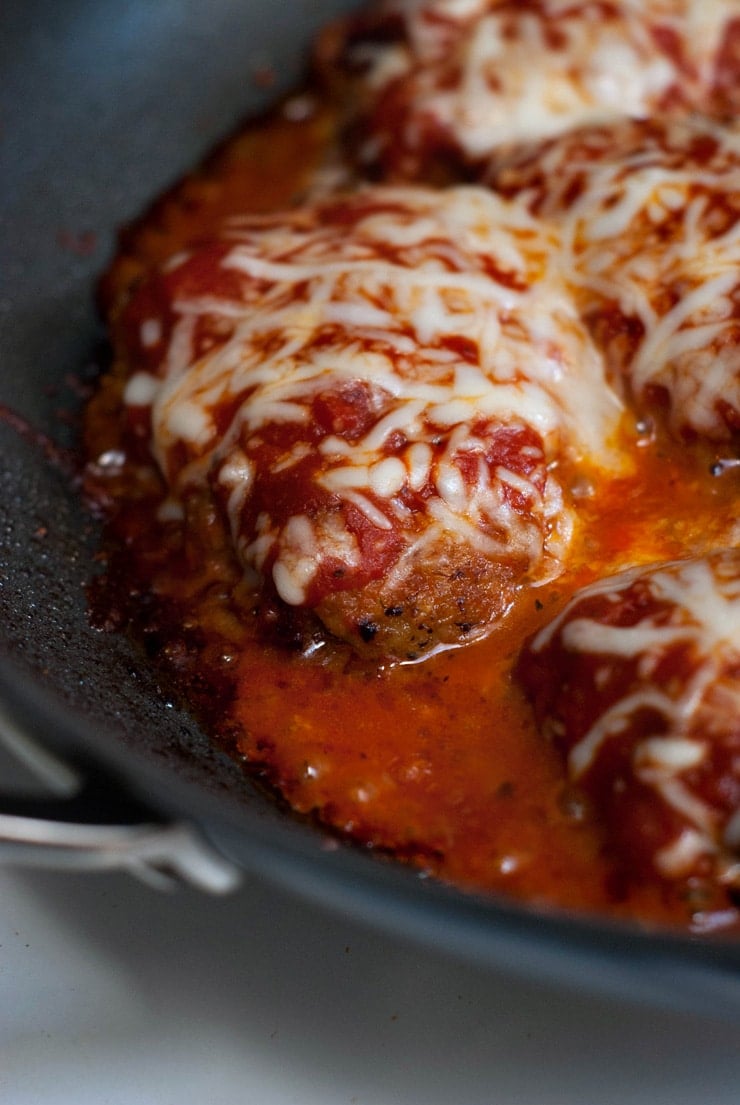
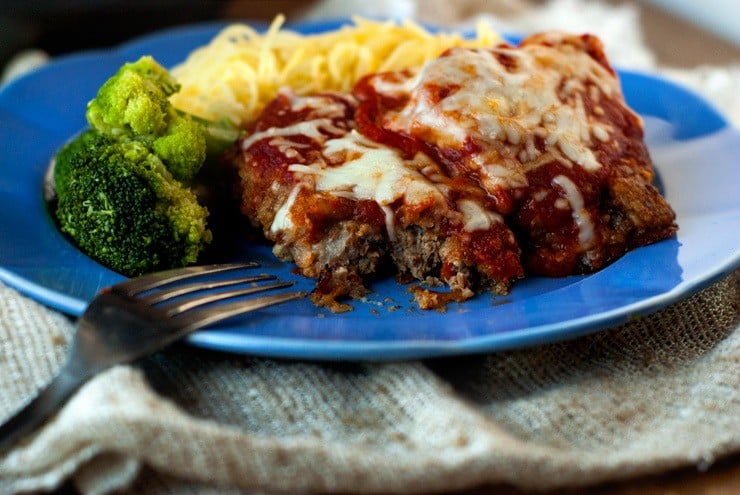
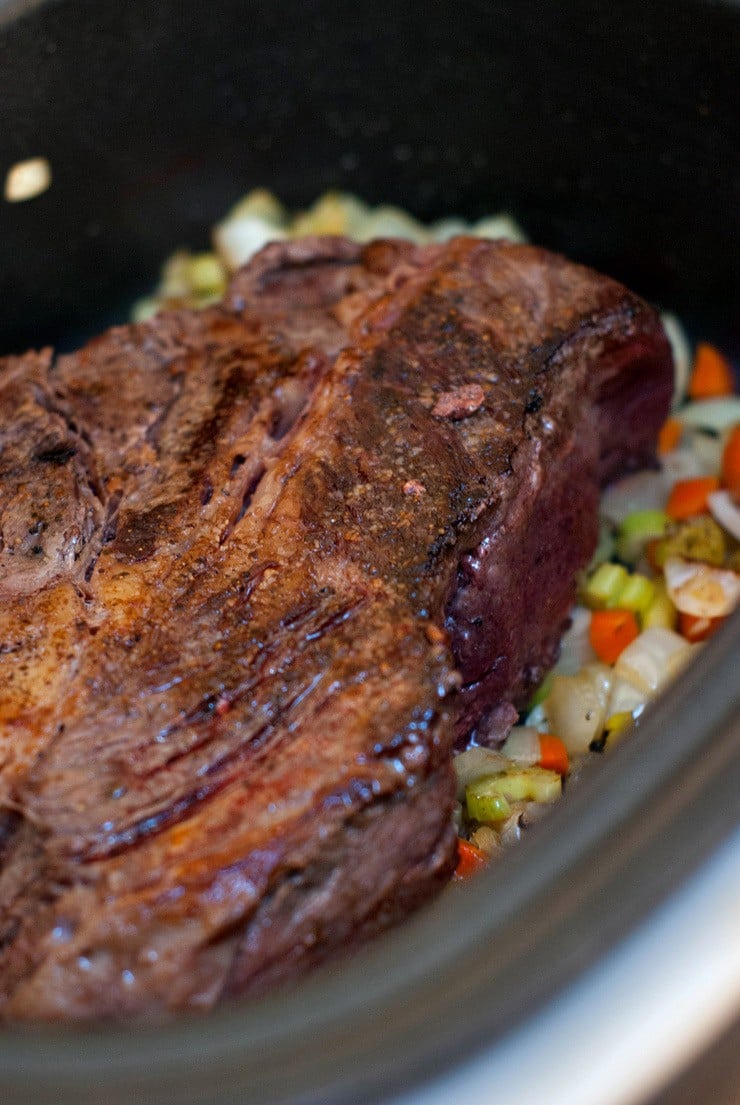 And once that roast is cooked all good and tender like, you're going to make a gravy to smother it in with the cooking juices. Sound good?
 I promise it's good. Like really, really good.
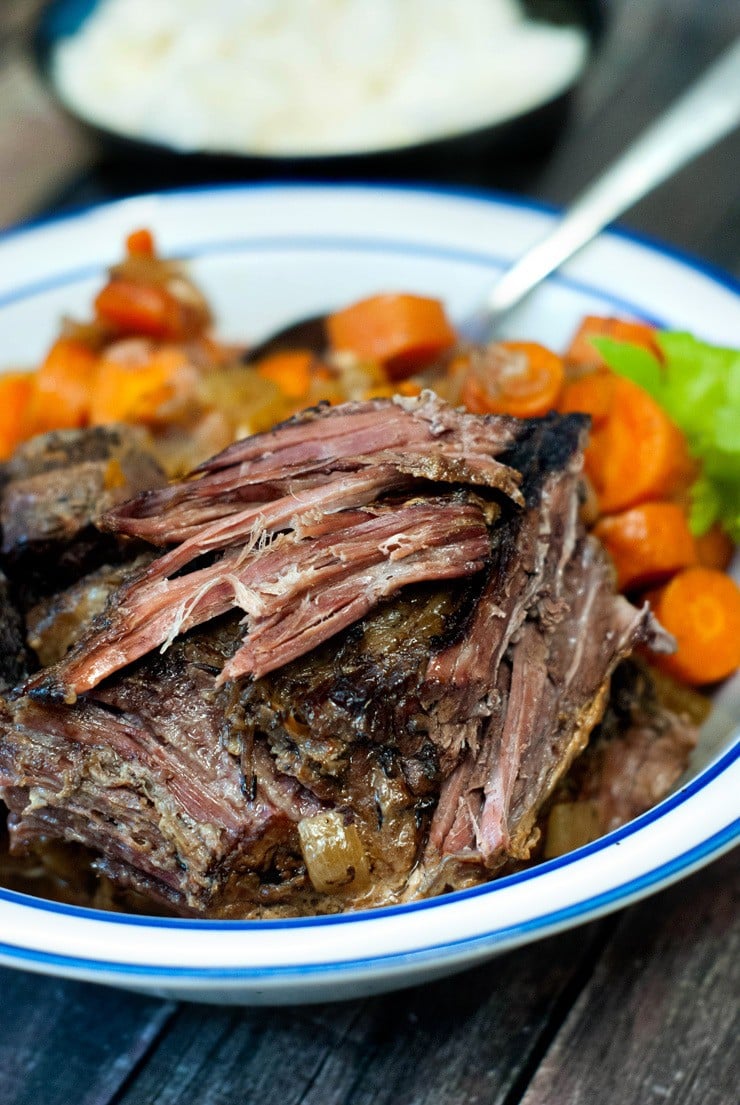
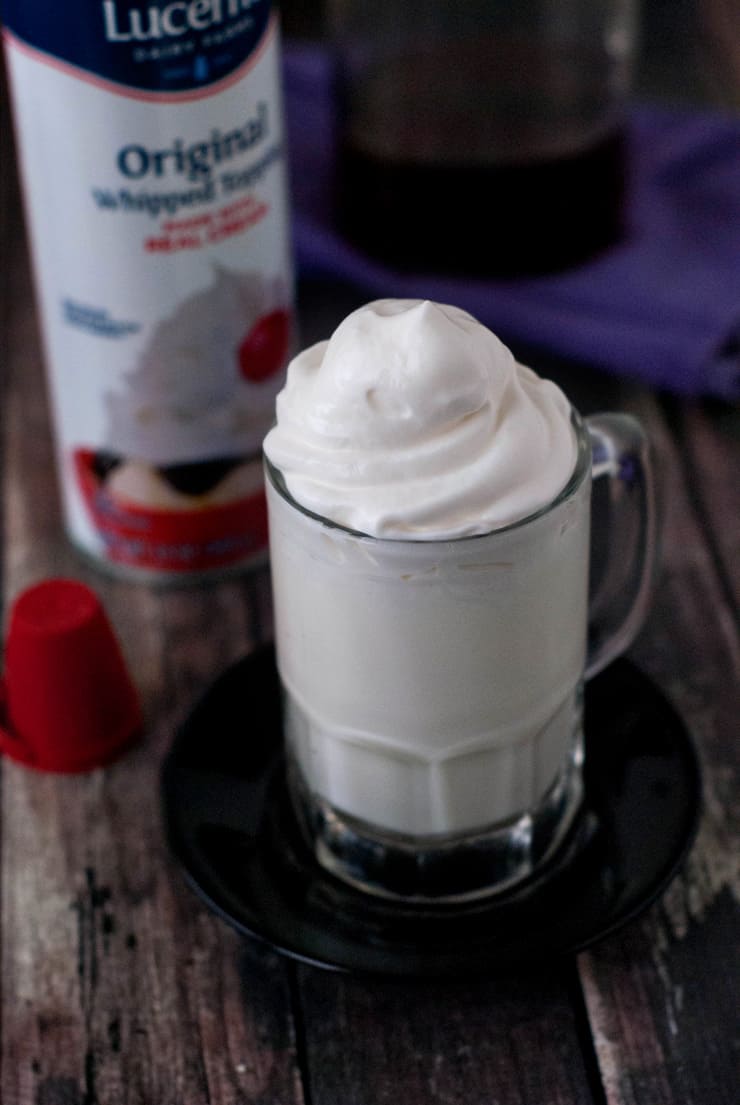
 Top this

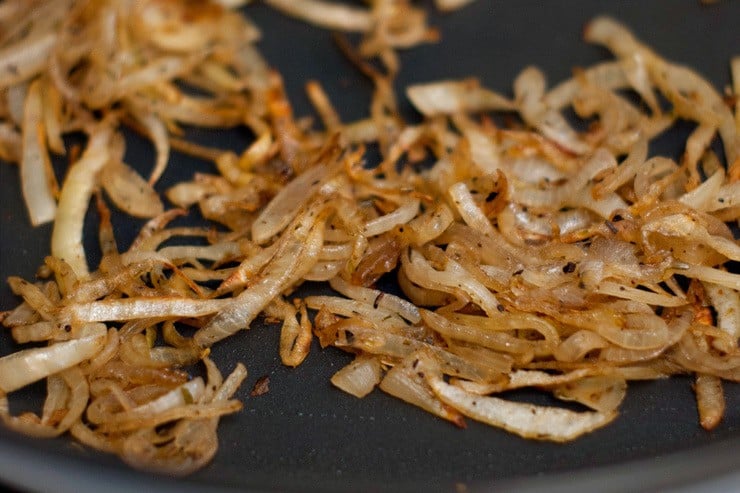
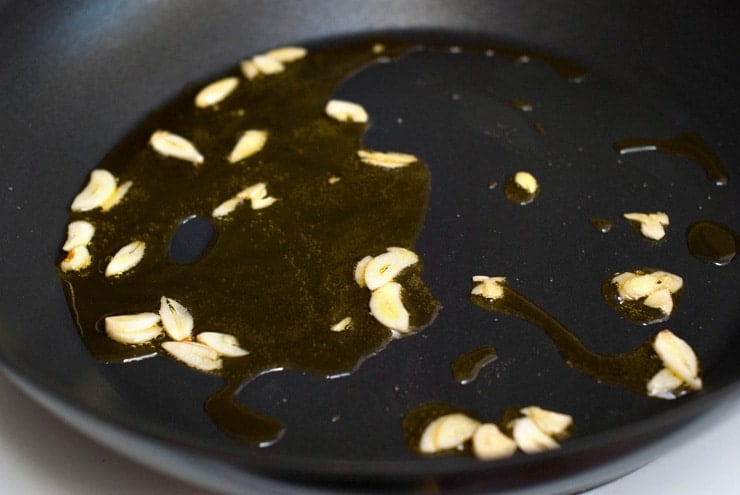
 Caramelizing onions well is super simple, but it does take a bit of patience. Adding a bit of salt to the onions at first will help to speed the process along as the salt will draw out moisture. Keep the heat between medium and low, stir often, and they'll turn out well. If the heat is too high, you'll end up with cooked onions but they won't have the sweet mellowness that true caramelized onions have.
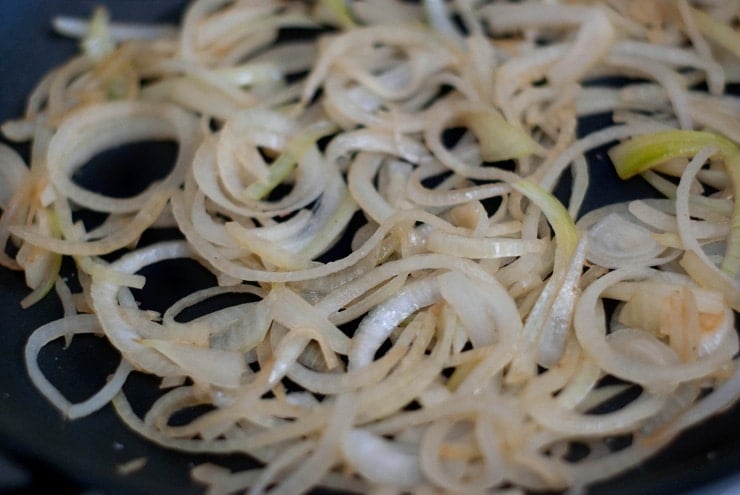
 While the onions are doing their thing, get that pasta roaring along!
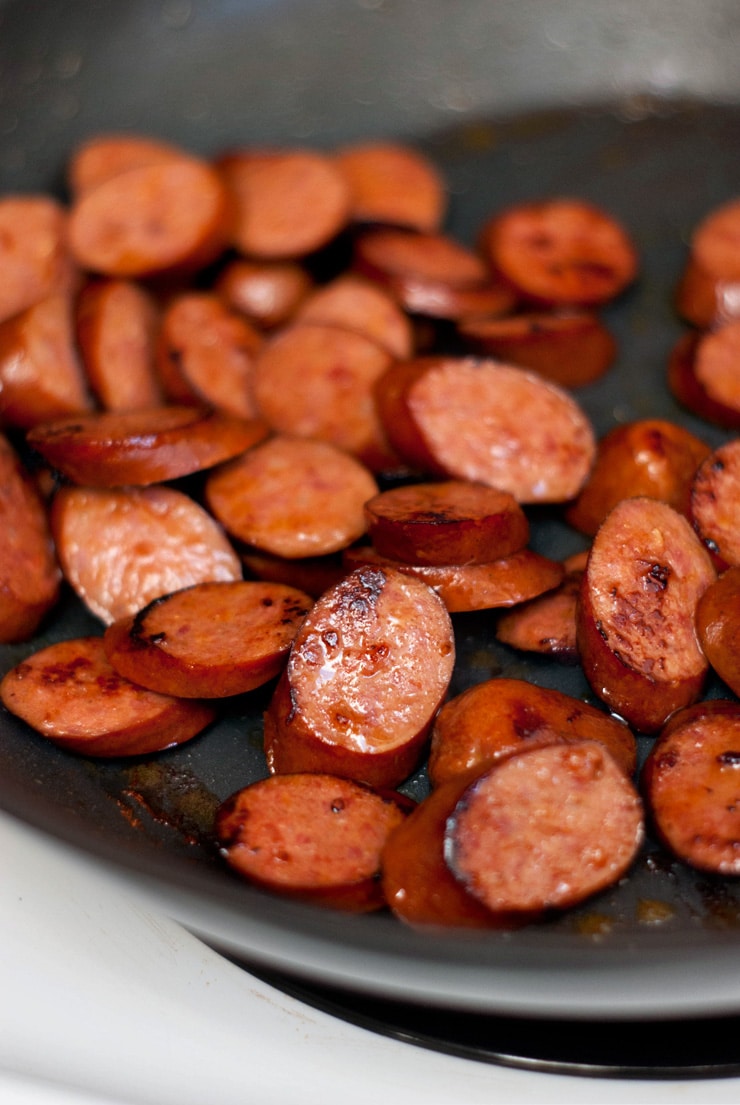
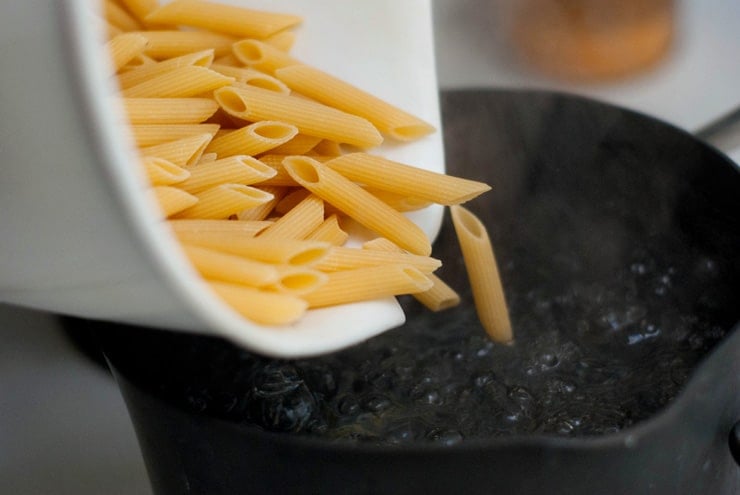 Once the onions are ready to go, stir the sausage, a can of diced tomatoes and a bit of oregano into the pan. Bring it to a simmer to heat the sausage and tomatoes up.
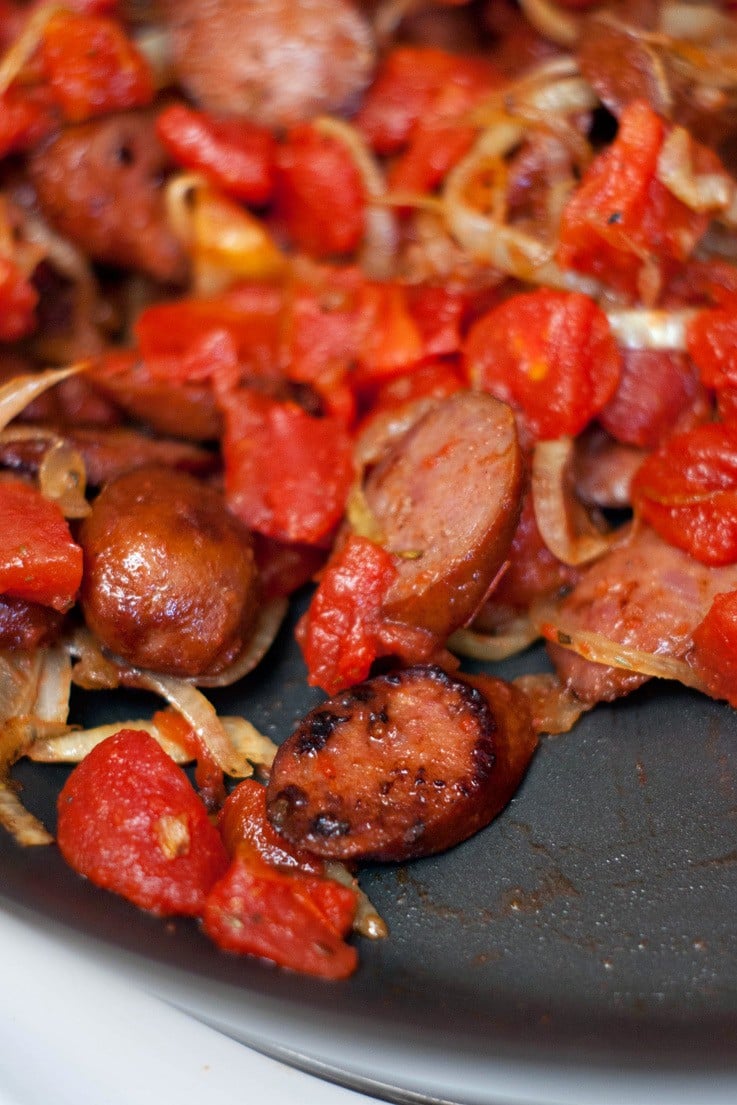 When you drain off the water from the pasta, reserve about ½ C of that starchy cooking water and set it aside to add to the pasta and sauce if it's not loose enough. If you don't have to use it, that's fine, but at least you'll have it if you do.
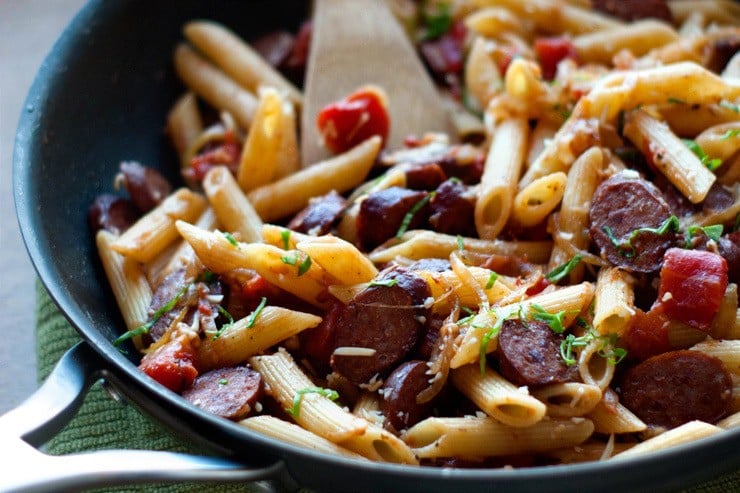
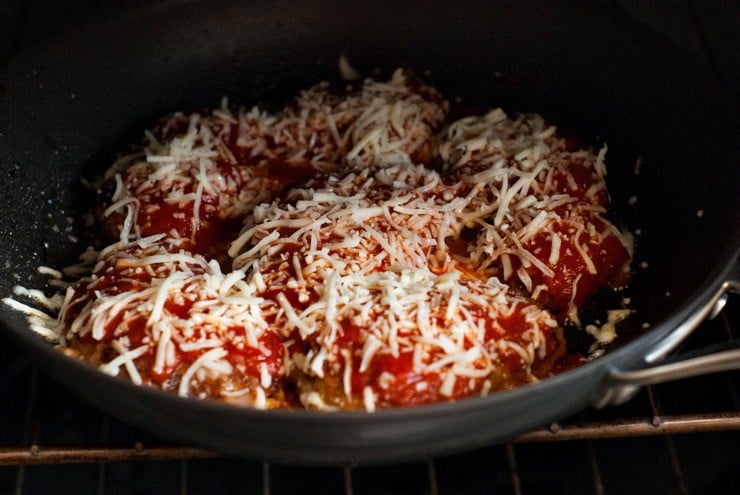
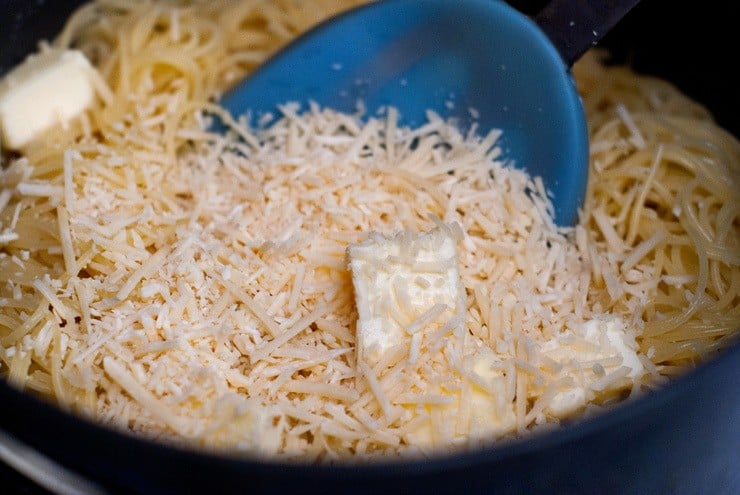
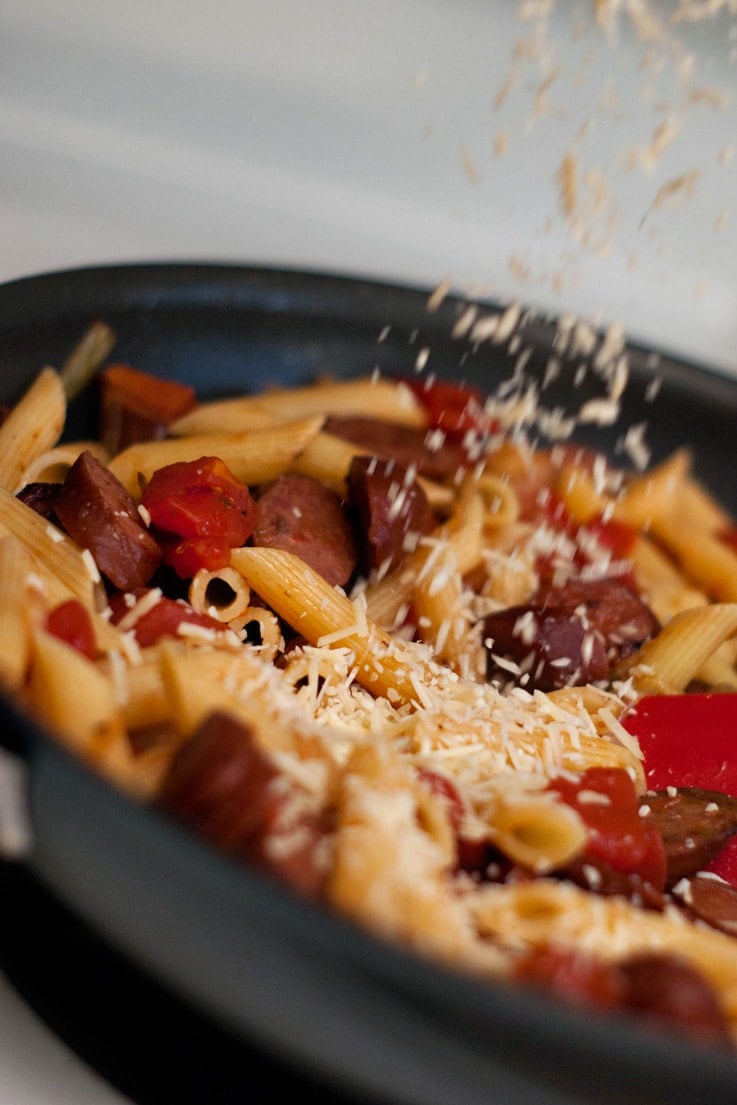 Parmesan cheese makes everything better so stir some into the finished pasta and top it off with more to serve. The penne soaks up some of the juices for the tomatoes and you're left with a super light, flavorful sauce with pieces of sweet onion and salty sausage. It's pretty great.

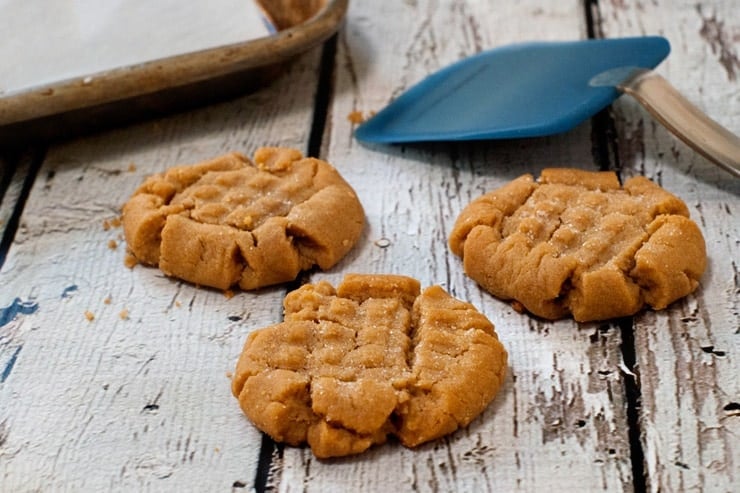

 In case you were wondering, frozen peanut butter cookies are delicious.
 So what did we learn today? There is such a thing as the perfect peanut butter cookie and to look for the green sticker on OXO products! Have I mentioned how much I loooove my OXO products? Big, BIG LOVE. That is all.

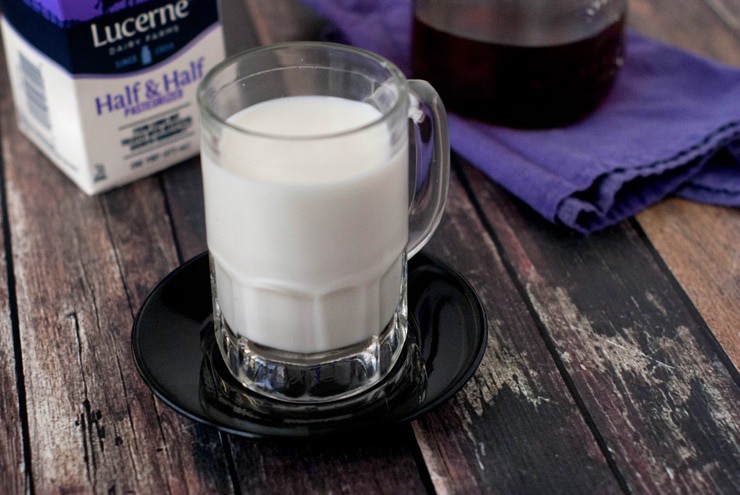
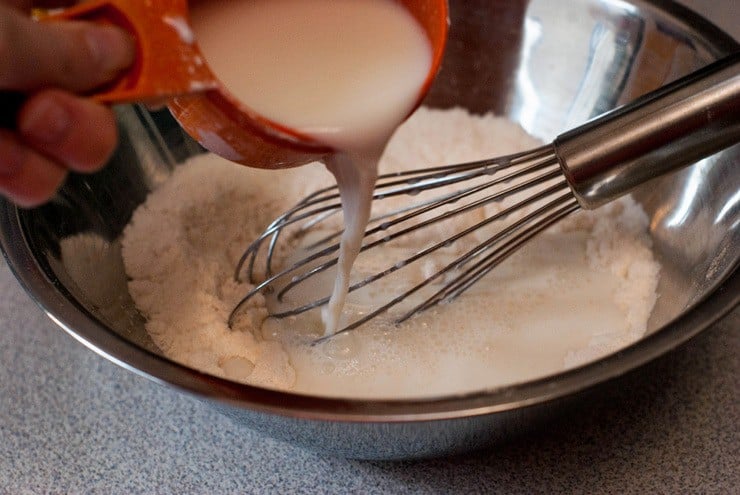
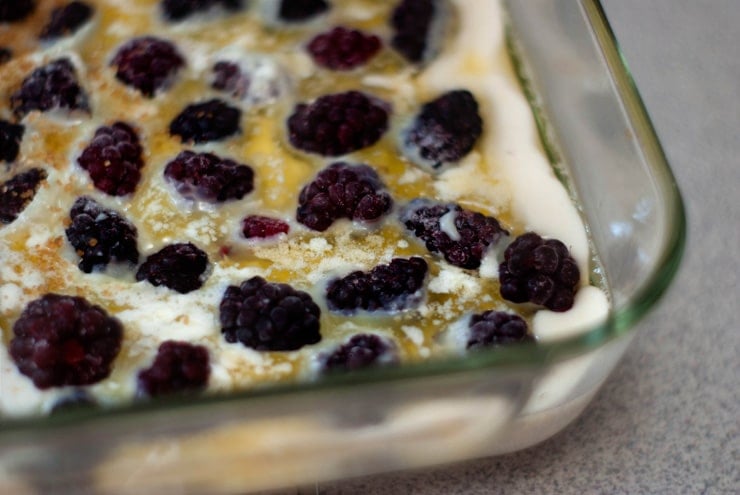
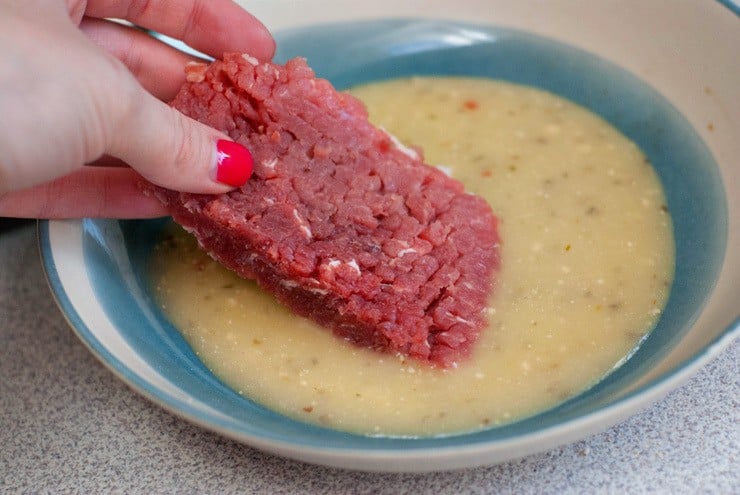
 The batter is a simple flour, sugar and milk mixture that basically looks like pancake mix.
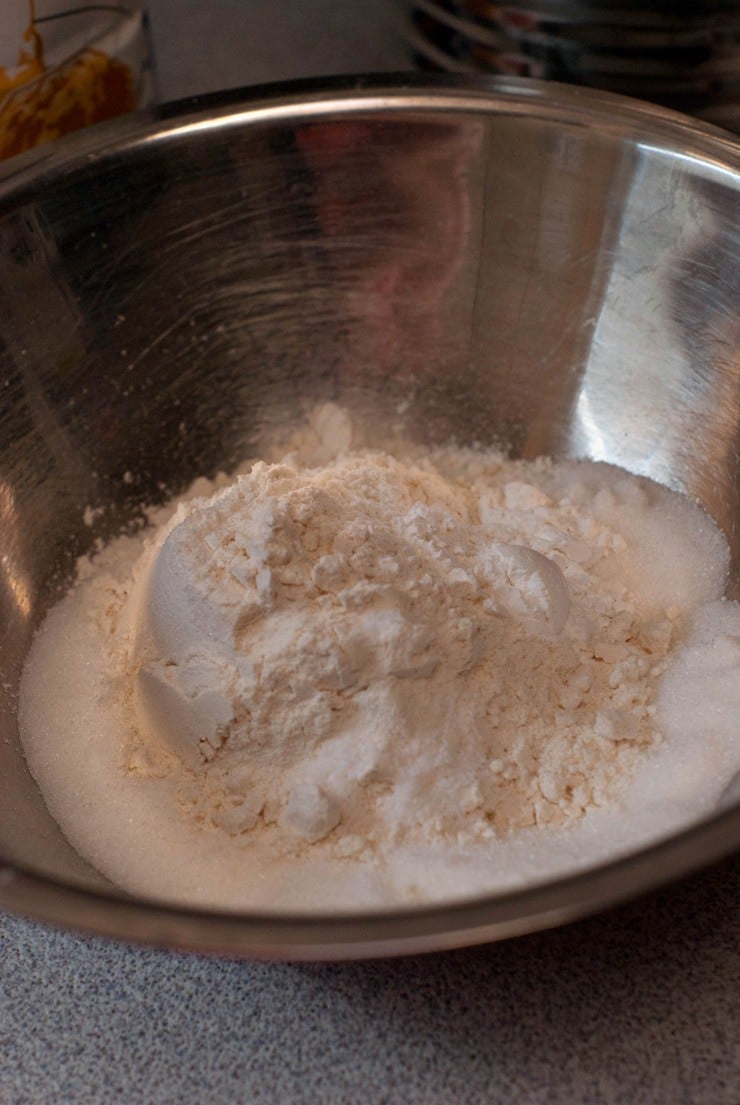
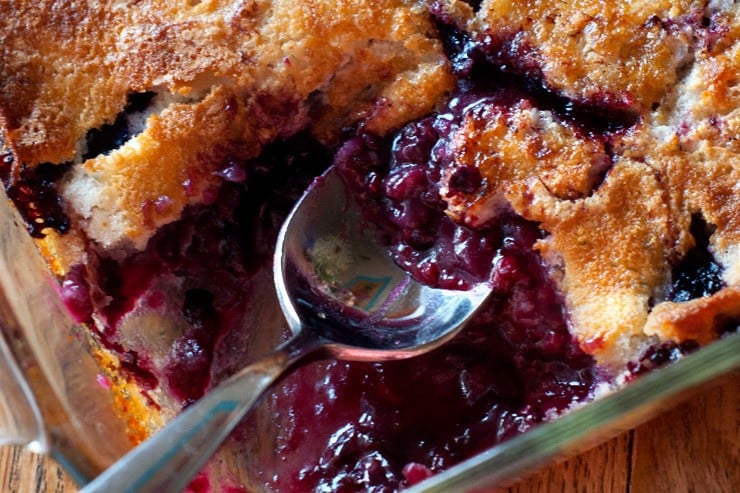
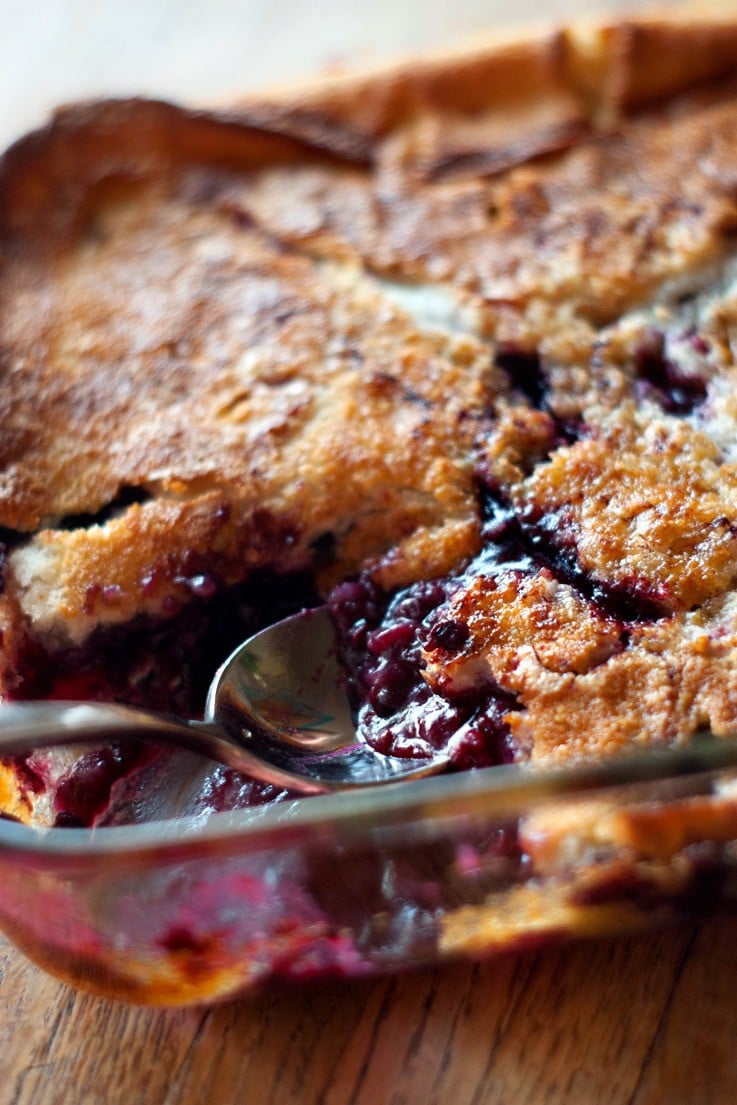
 I used frozen boysenberries from our summer berry picking but just about any other berry will work well for this Easy Boysenberry Cobbler recipe.
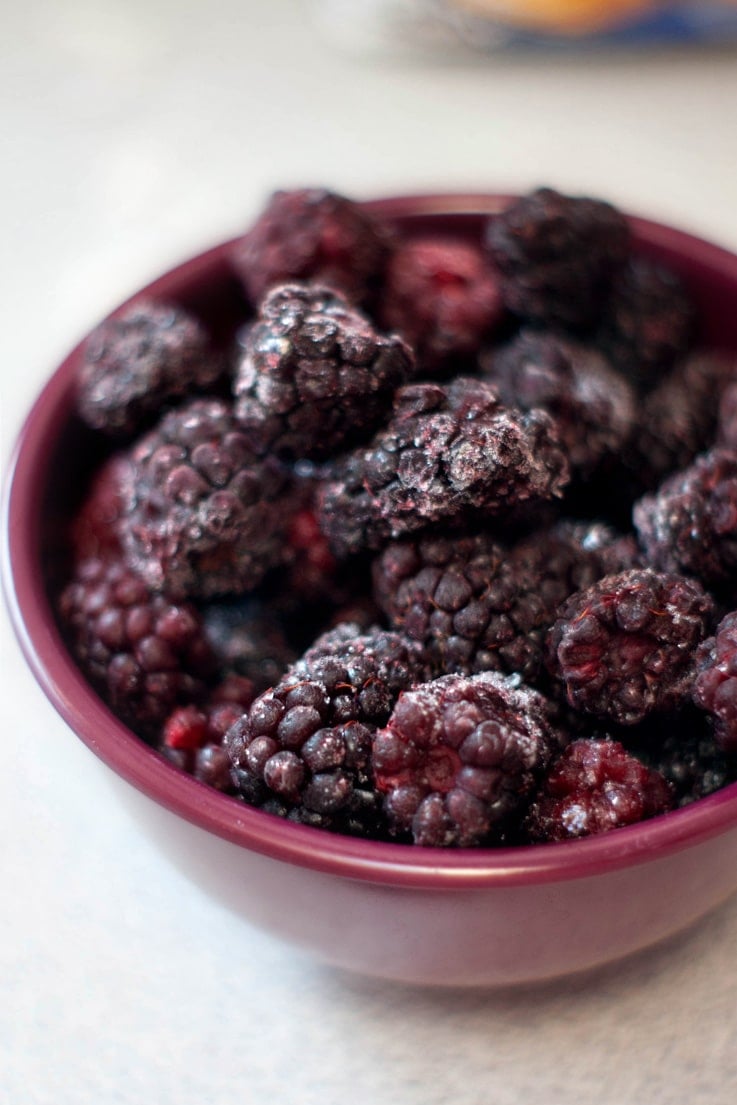

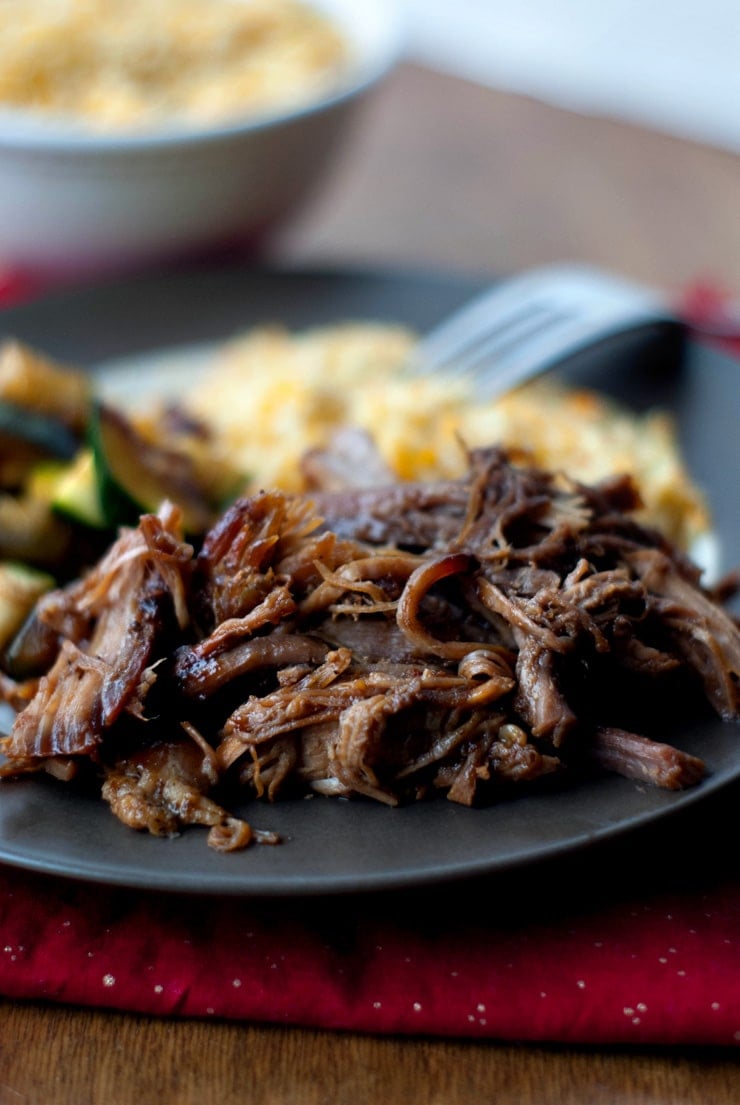
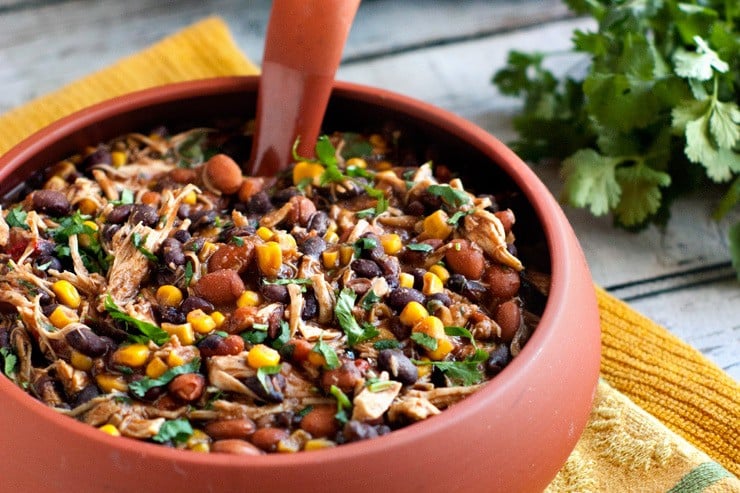
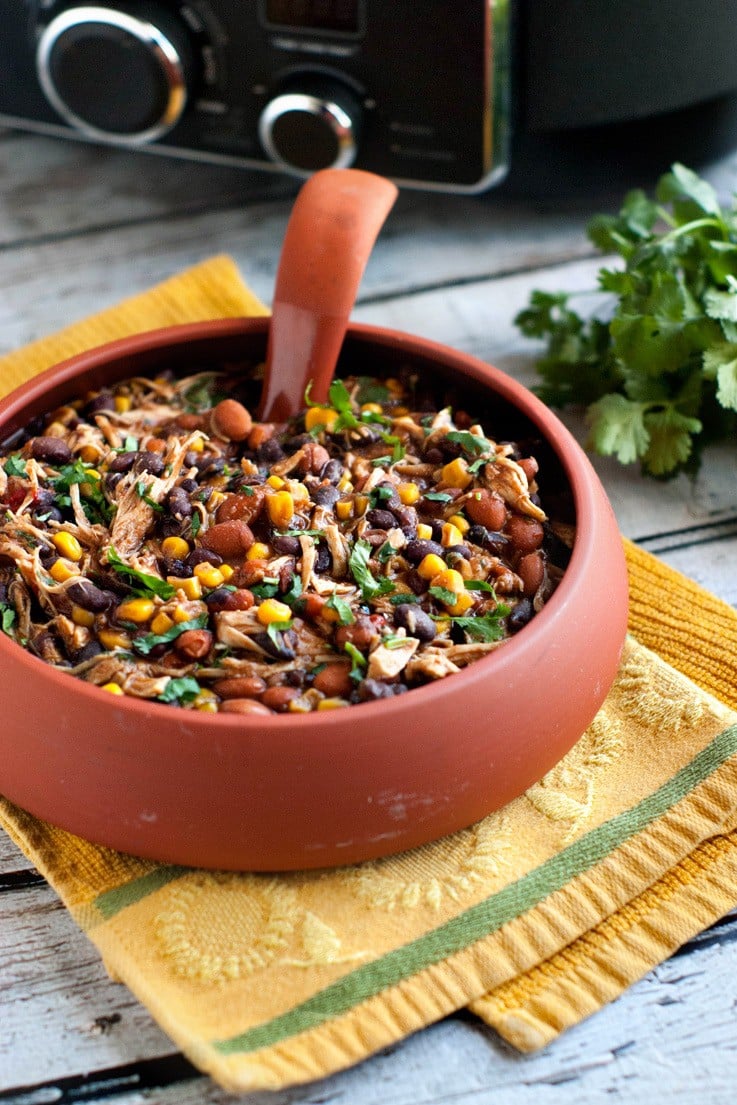
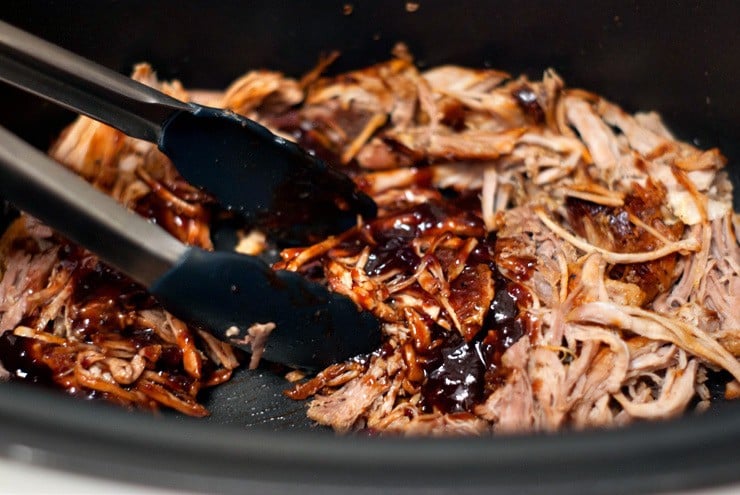
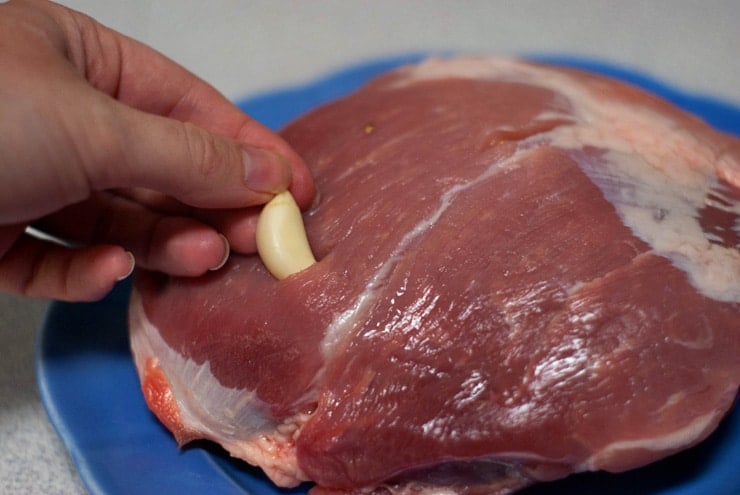 Slow Cooker Blackberry BBQ Pulled Pork
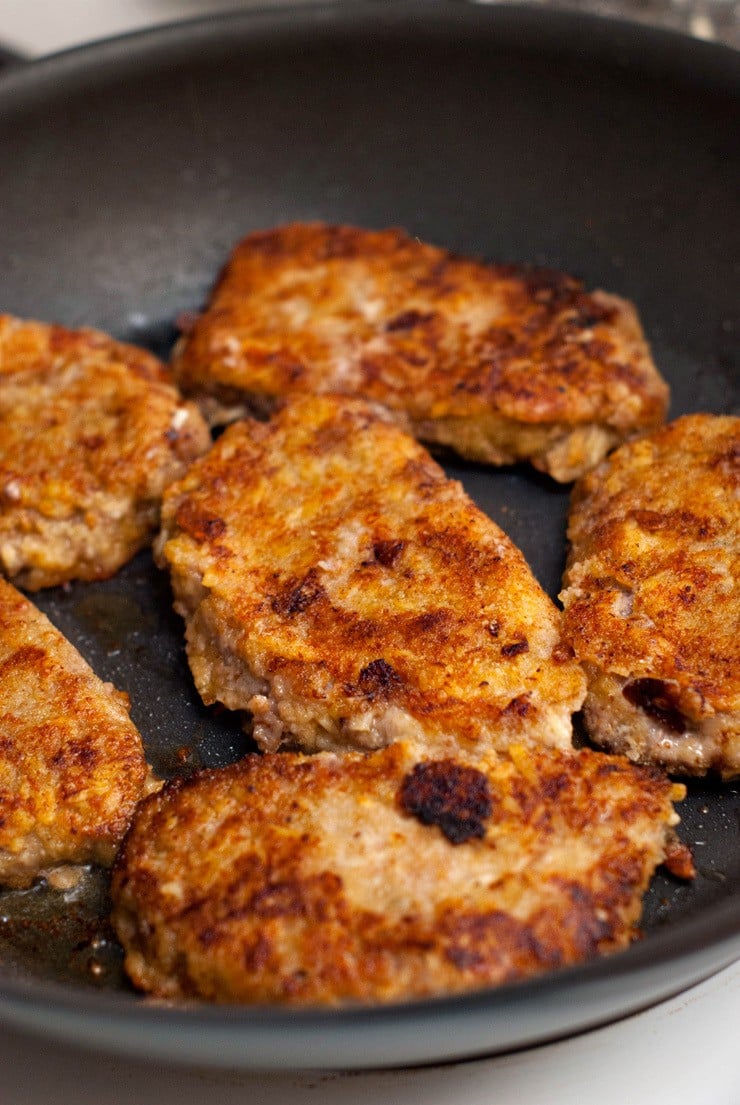
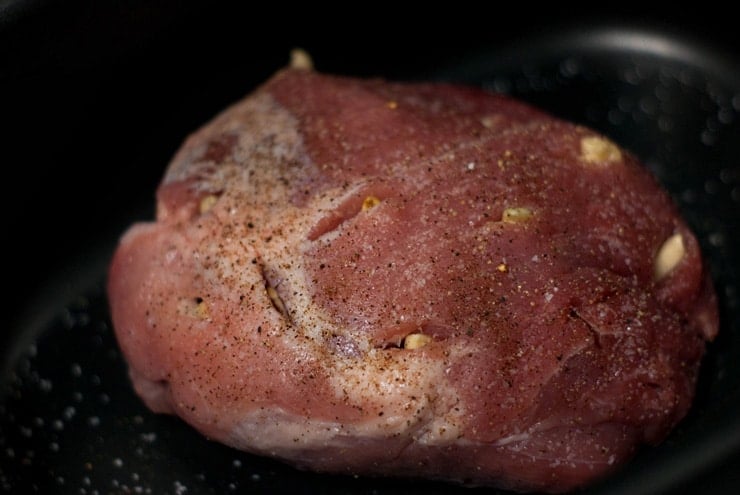 Another element of flavor comes from searing your meat first before letting it slow cook. A nice caramelized outside will give your finished product soo much flavor that it's worth the extra step.
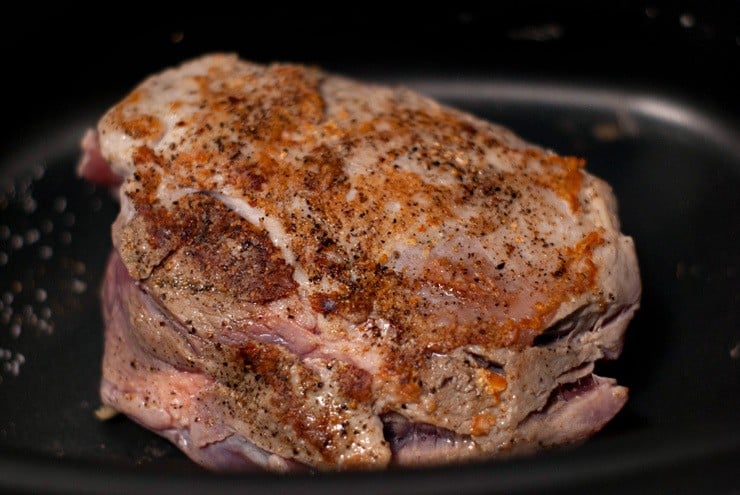 Once the meat has had its go in the slow cooker for 6-8 hours on low, it should be falling apart and tender. Shred it up and toss it with the sauce. Our sauce is 2 ingredients, people!
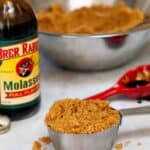
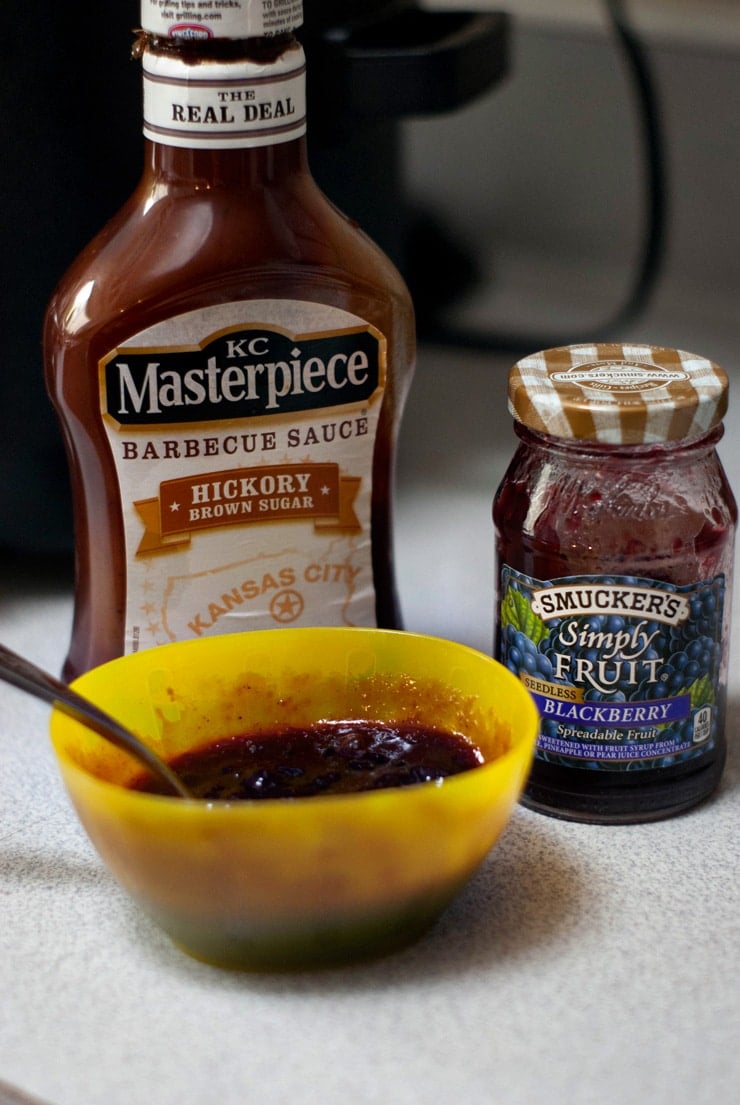
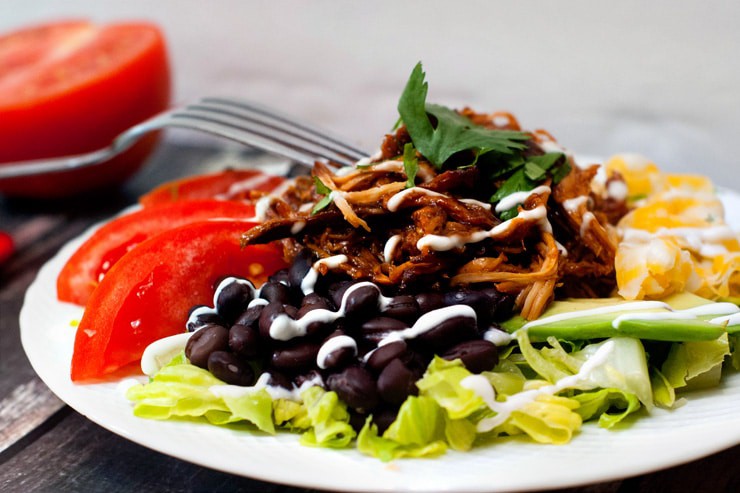
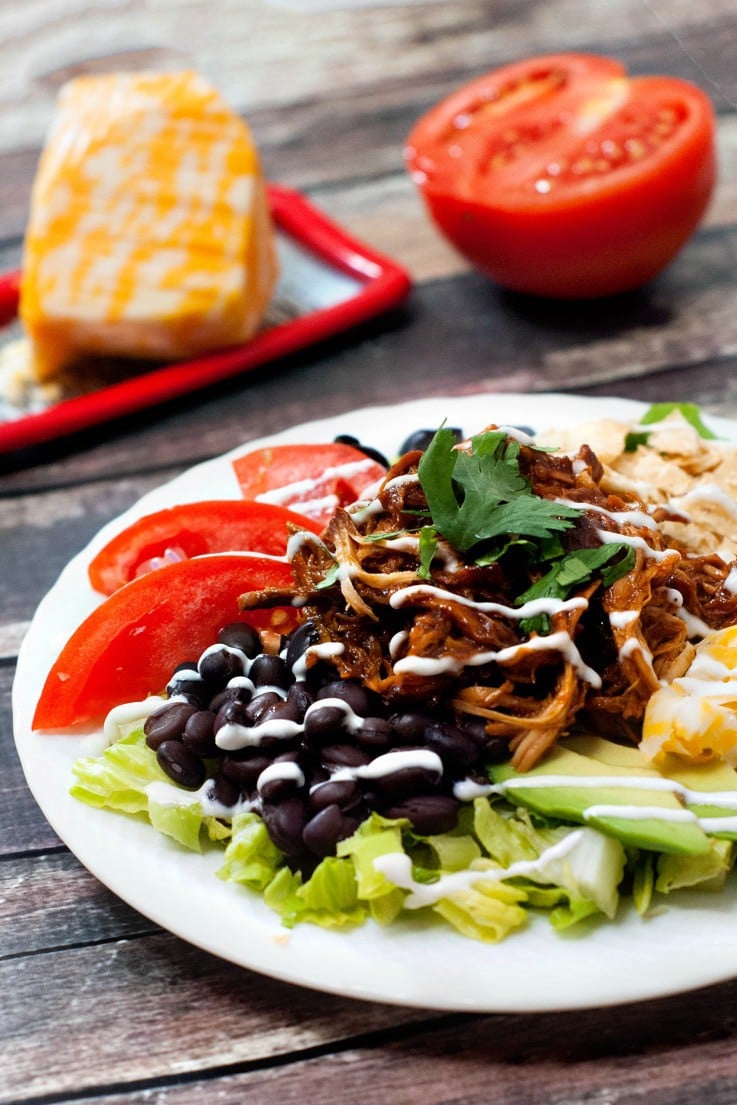
 Give it a stir and serve atop rice, on bun, with a baked potato, or basically whatever your little heart desires. It makes great sandwiches, especially with some pepperoncinis to balance the sweetness!
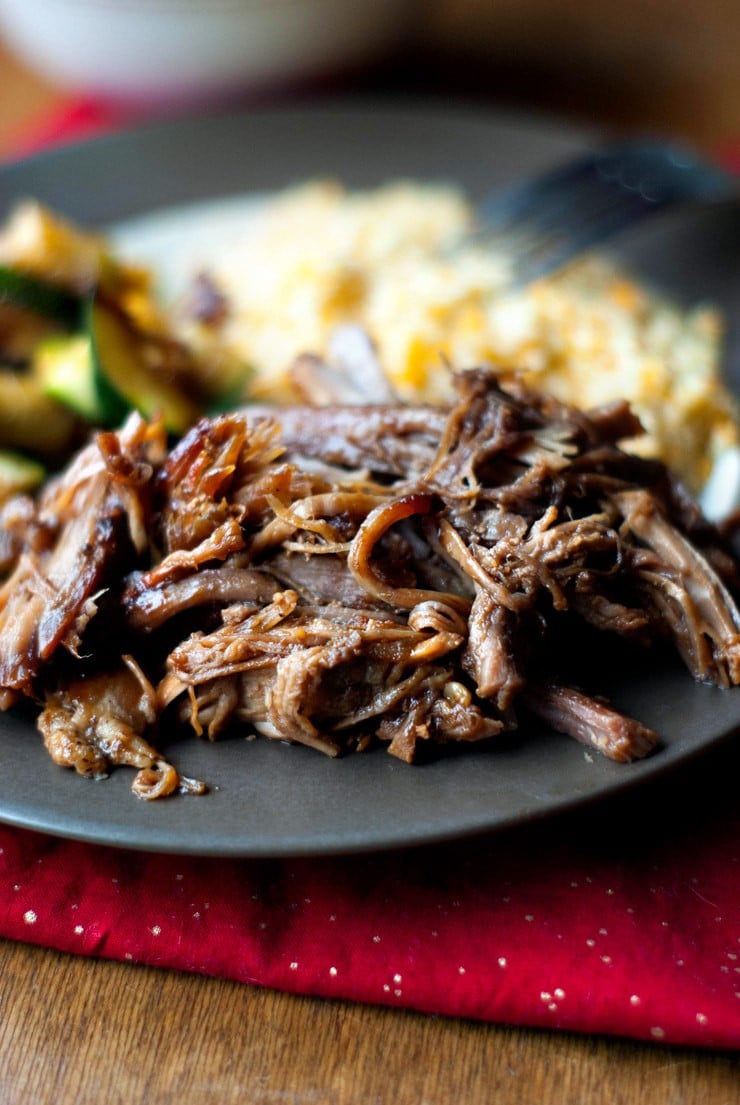
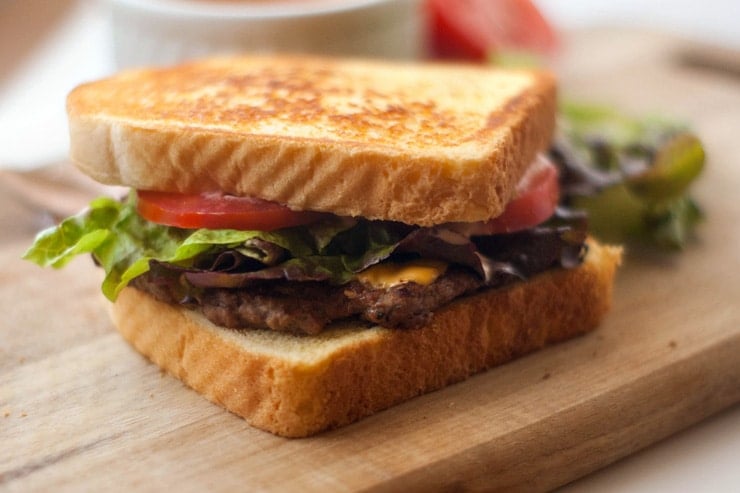
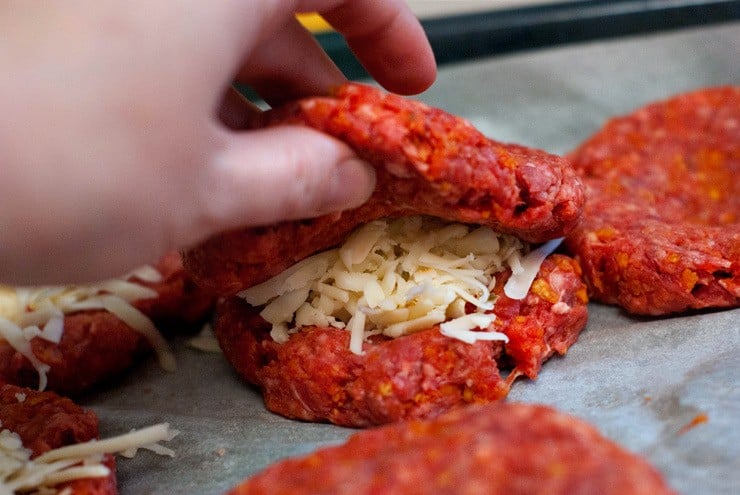
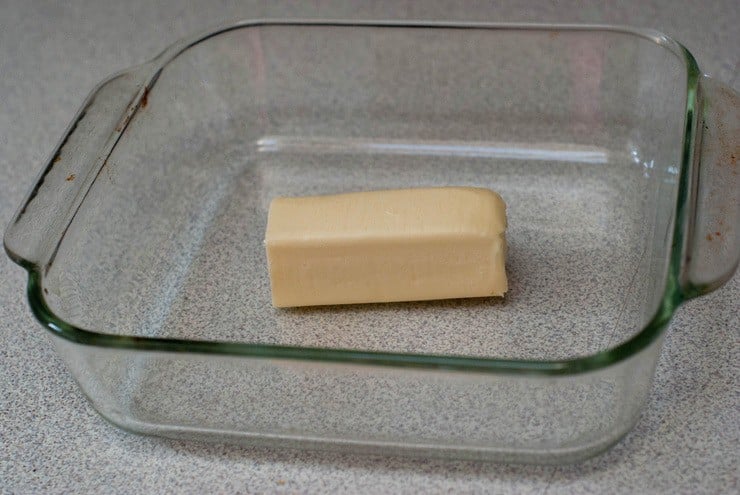
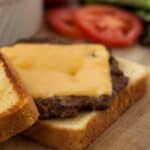
 Buttering the bread is not optional, btw. If you want a lettuce wrap, kindly go elsewhere.
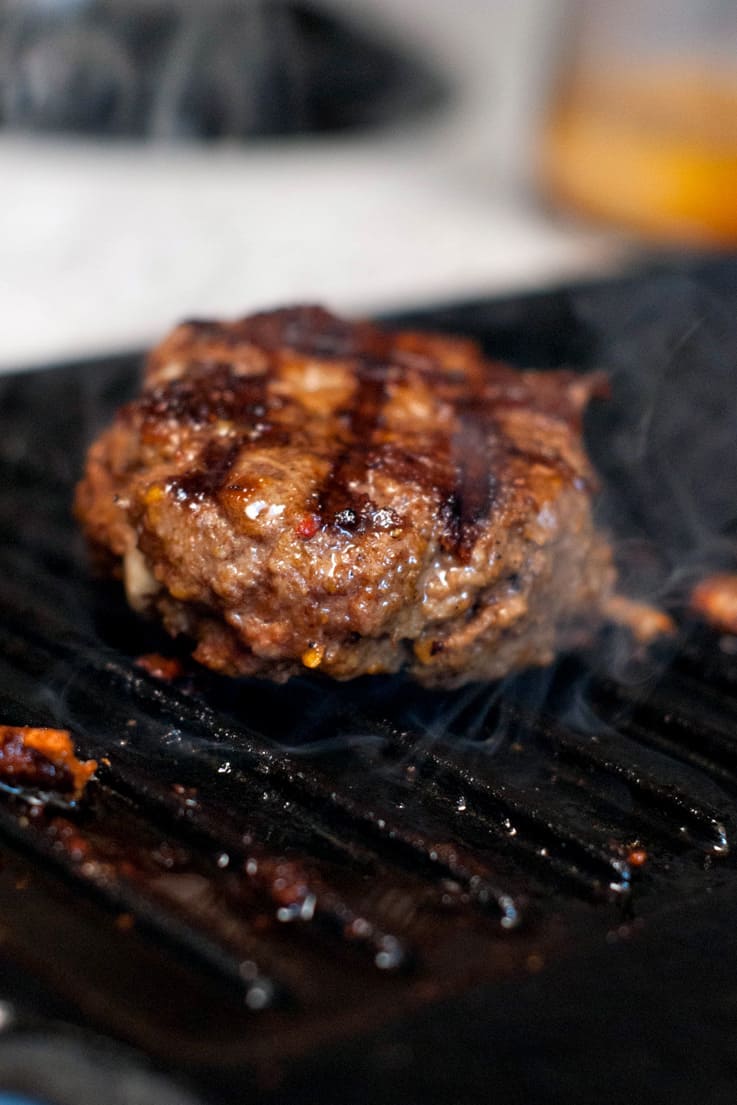
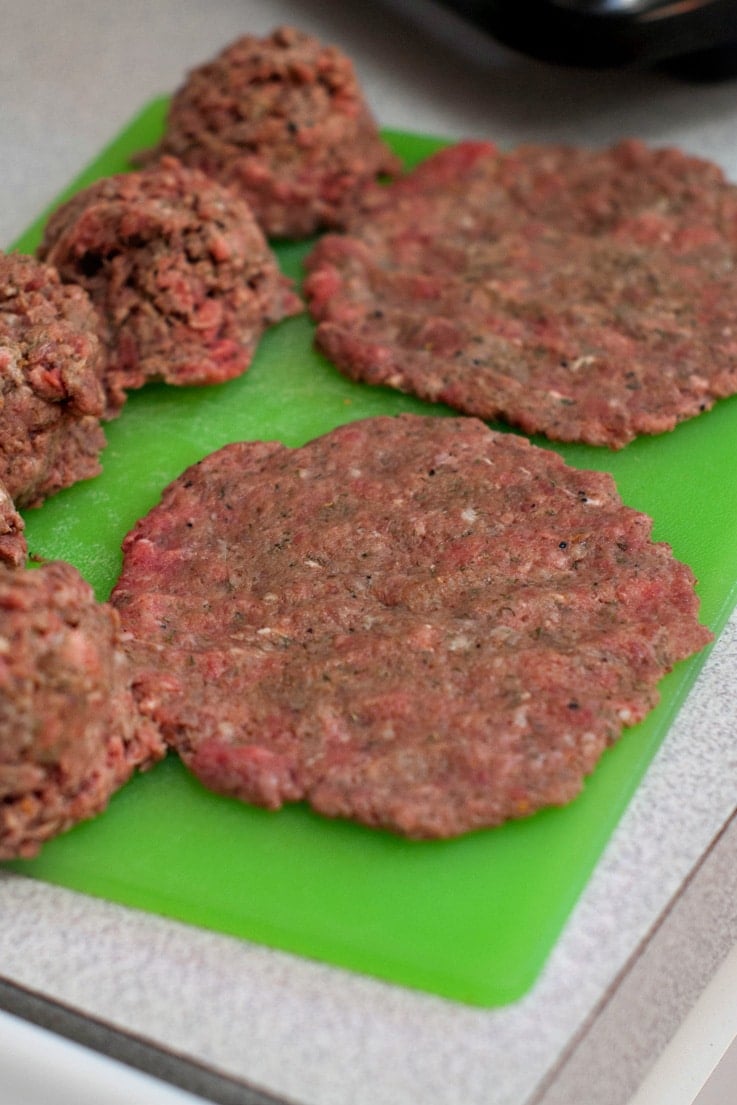
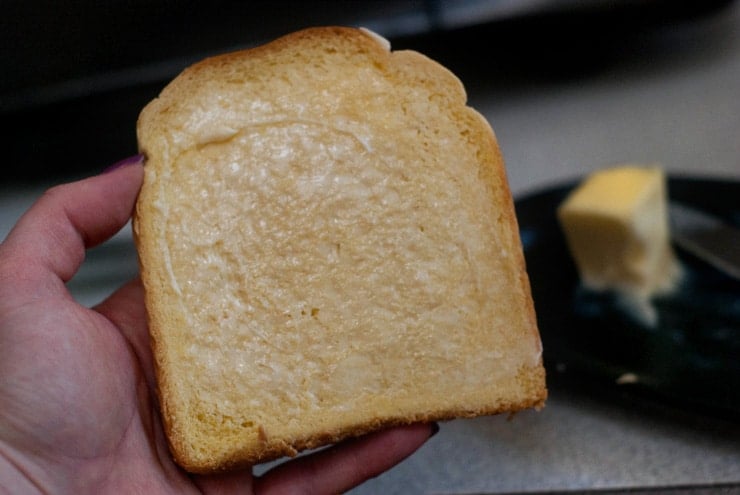 Sizzle sweet patty, sizzle.
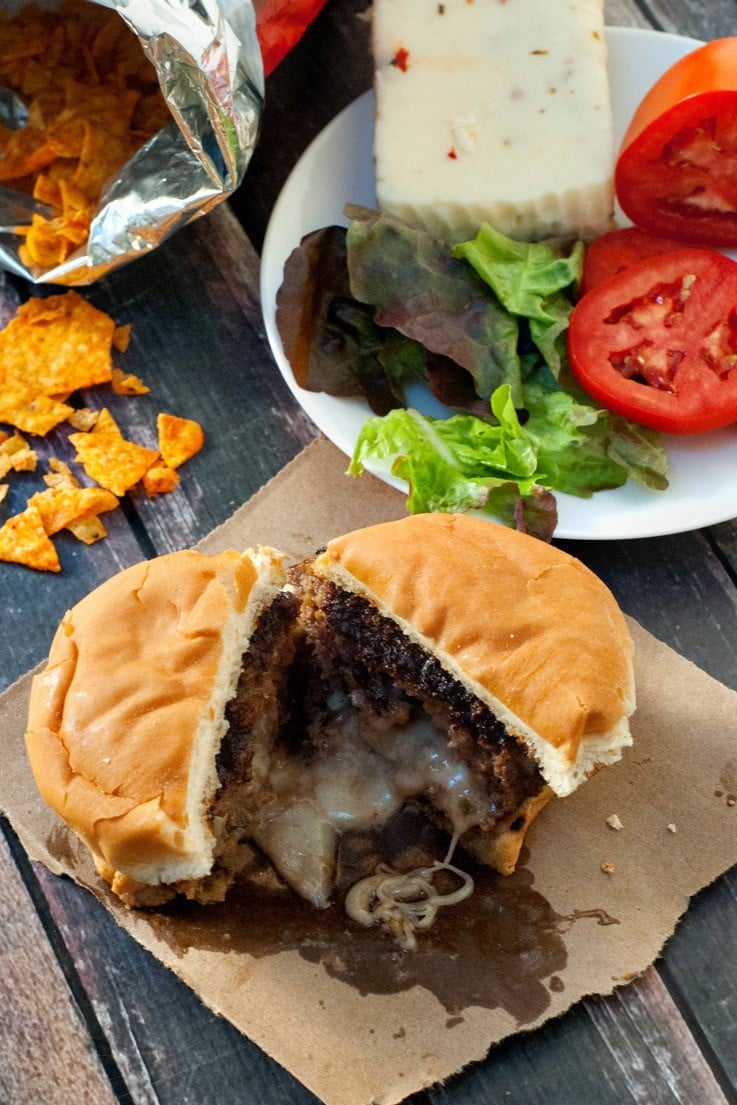
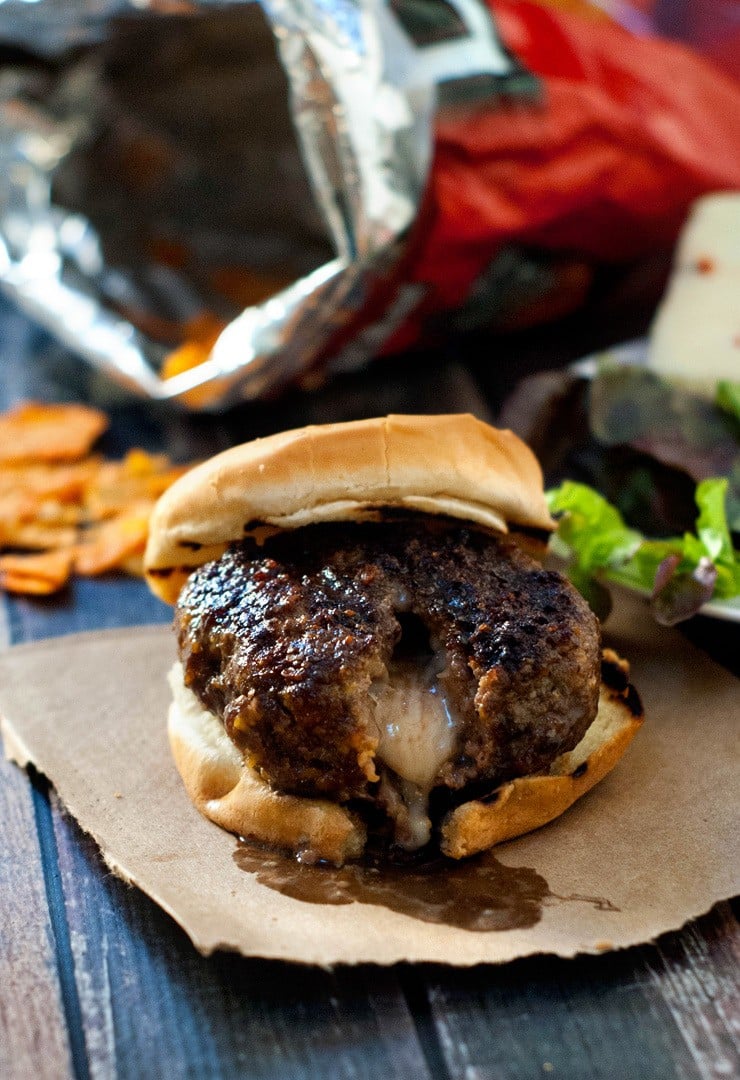
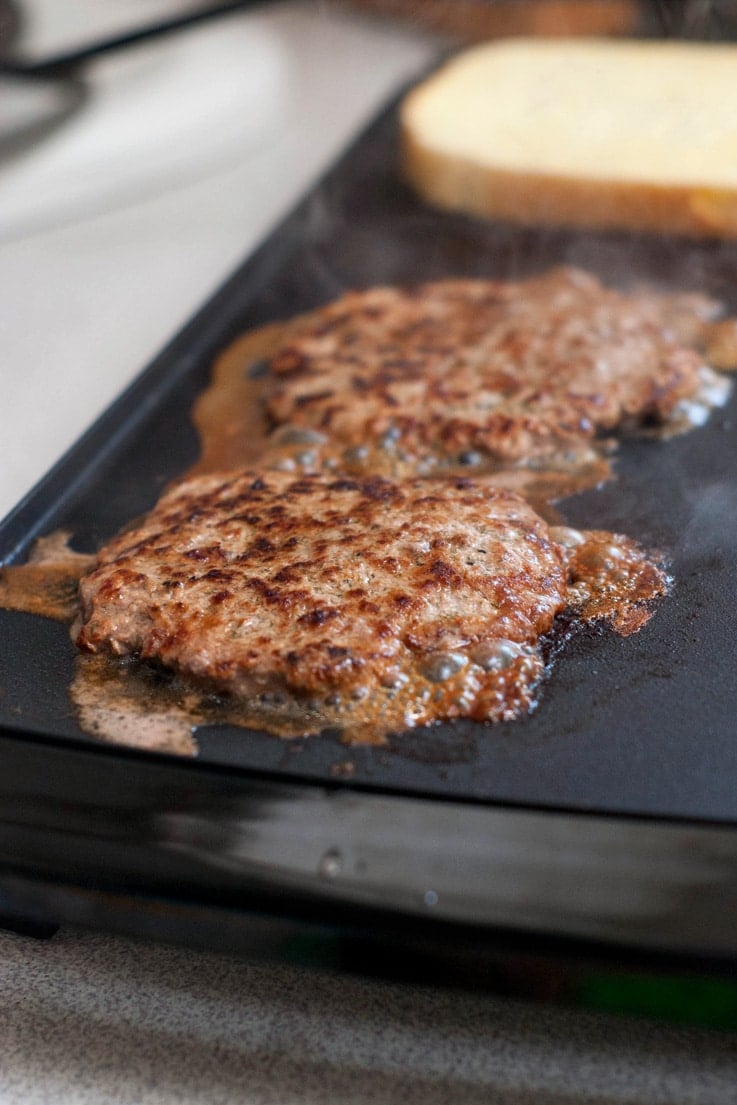 Top your Texas Toast Griddle Burgers with all your favorite fixings. I made a simple burger sauce made with mayonnaise, ketchup, and sweet pickle relish and put lettuce and tomato on the burger. Oh, and american cheese is totally the way to go here.
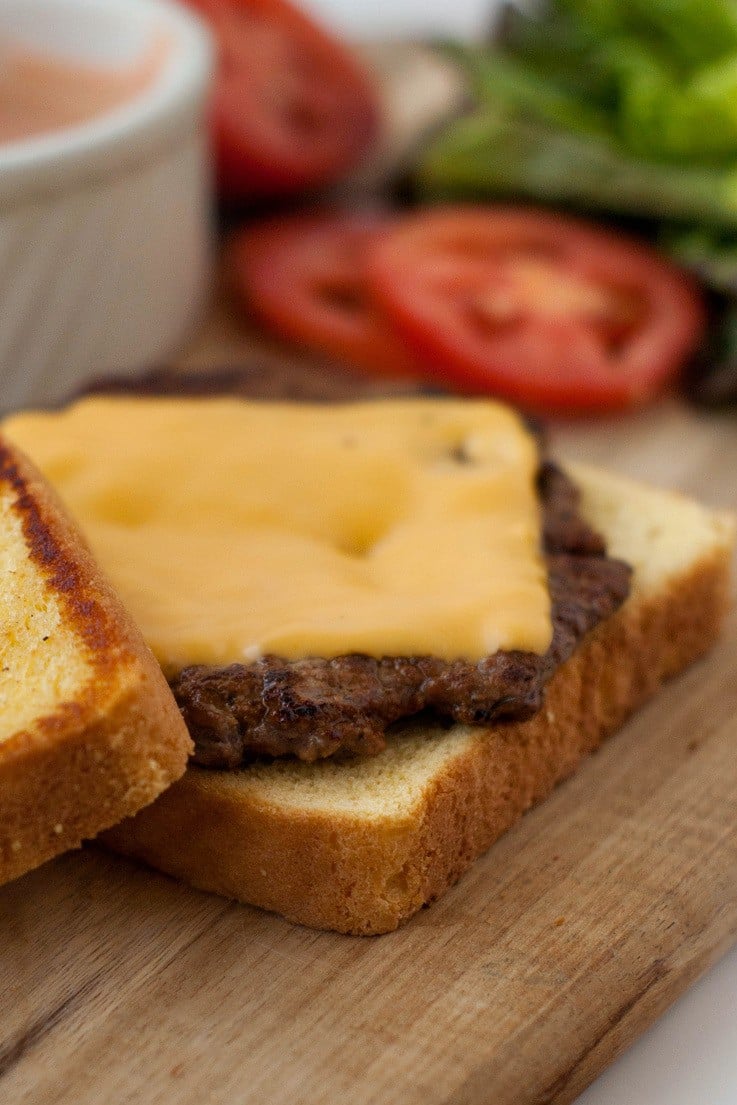 This is some serious lunch here.
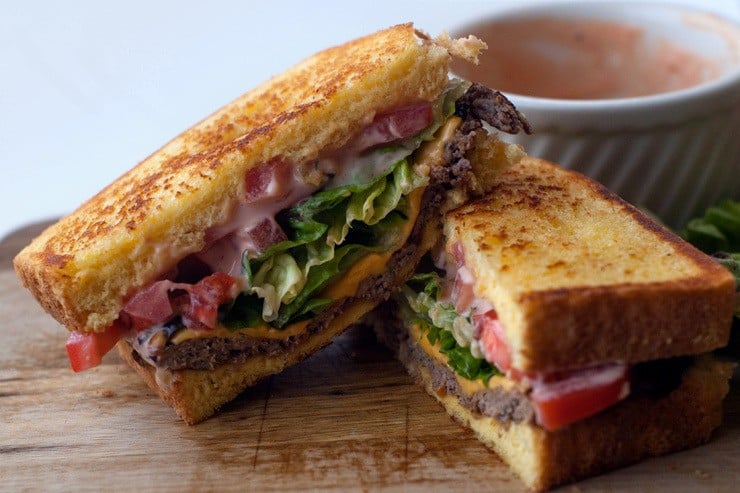


 I actually had the foresight to keep the kiddos from immediately going into destruction mode once stepping into our room this time and snapped this pic. It was cute, cozy and had an amazing view. My only complaint, and the hubs will back me up on this, is that there were too many pillows on the beds! Sounds crazy, but as pretty as the bolster pillows (the long skinny ones) and shams are, they take up some major floor space when not on the beds. With all of our luggage, stroller and carseat floor space is a major commodity. Maybe we're silly.
 While at Disneyland the girls bought a pirate dress up set and had fun playing pirates at the window pretending to be on a ship. It was pretty darn adorable.
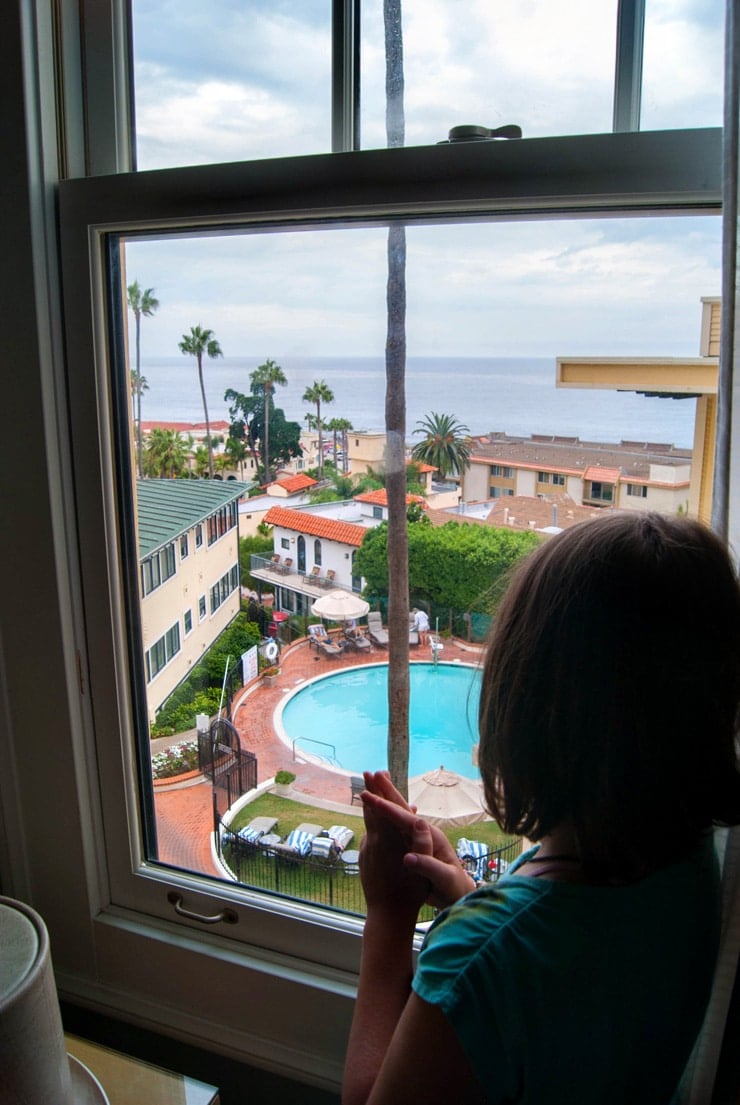 Nerd alert.
 This picture pretty much sums up our life. We've got the crazy one and the little mother while baby is just along for the ride.
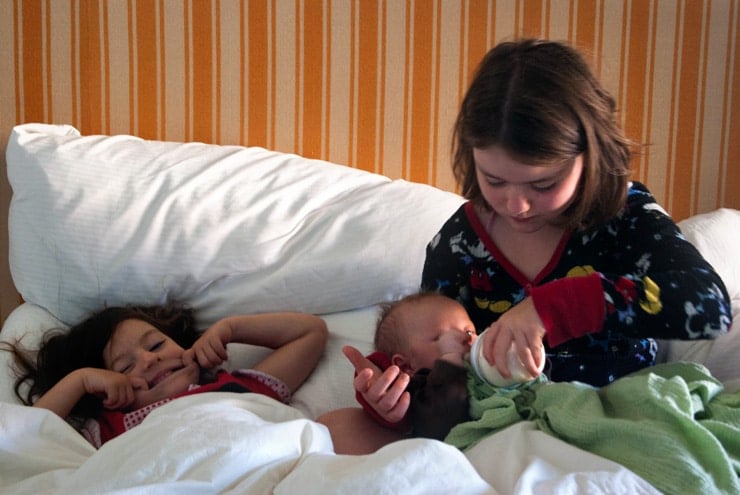 I wish I would have had my big girl camera for this pic because the sunset was absolutely gorgeous that night. My phone camera just doesn't do it justice. But my family is pretty darn cute.
 **The Grande Colonial did not pay me for this post, but I was offered a discounted rate in exchange for an honest review. All thoughts and opinions are my own! 🙂